Style Arc Petra Coat

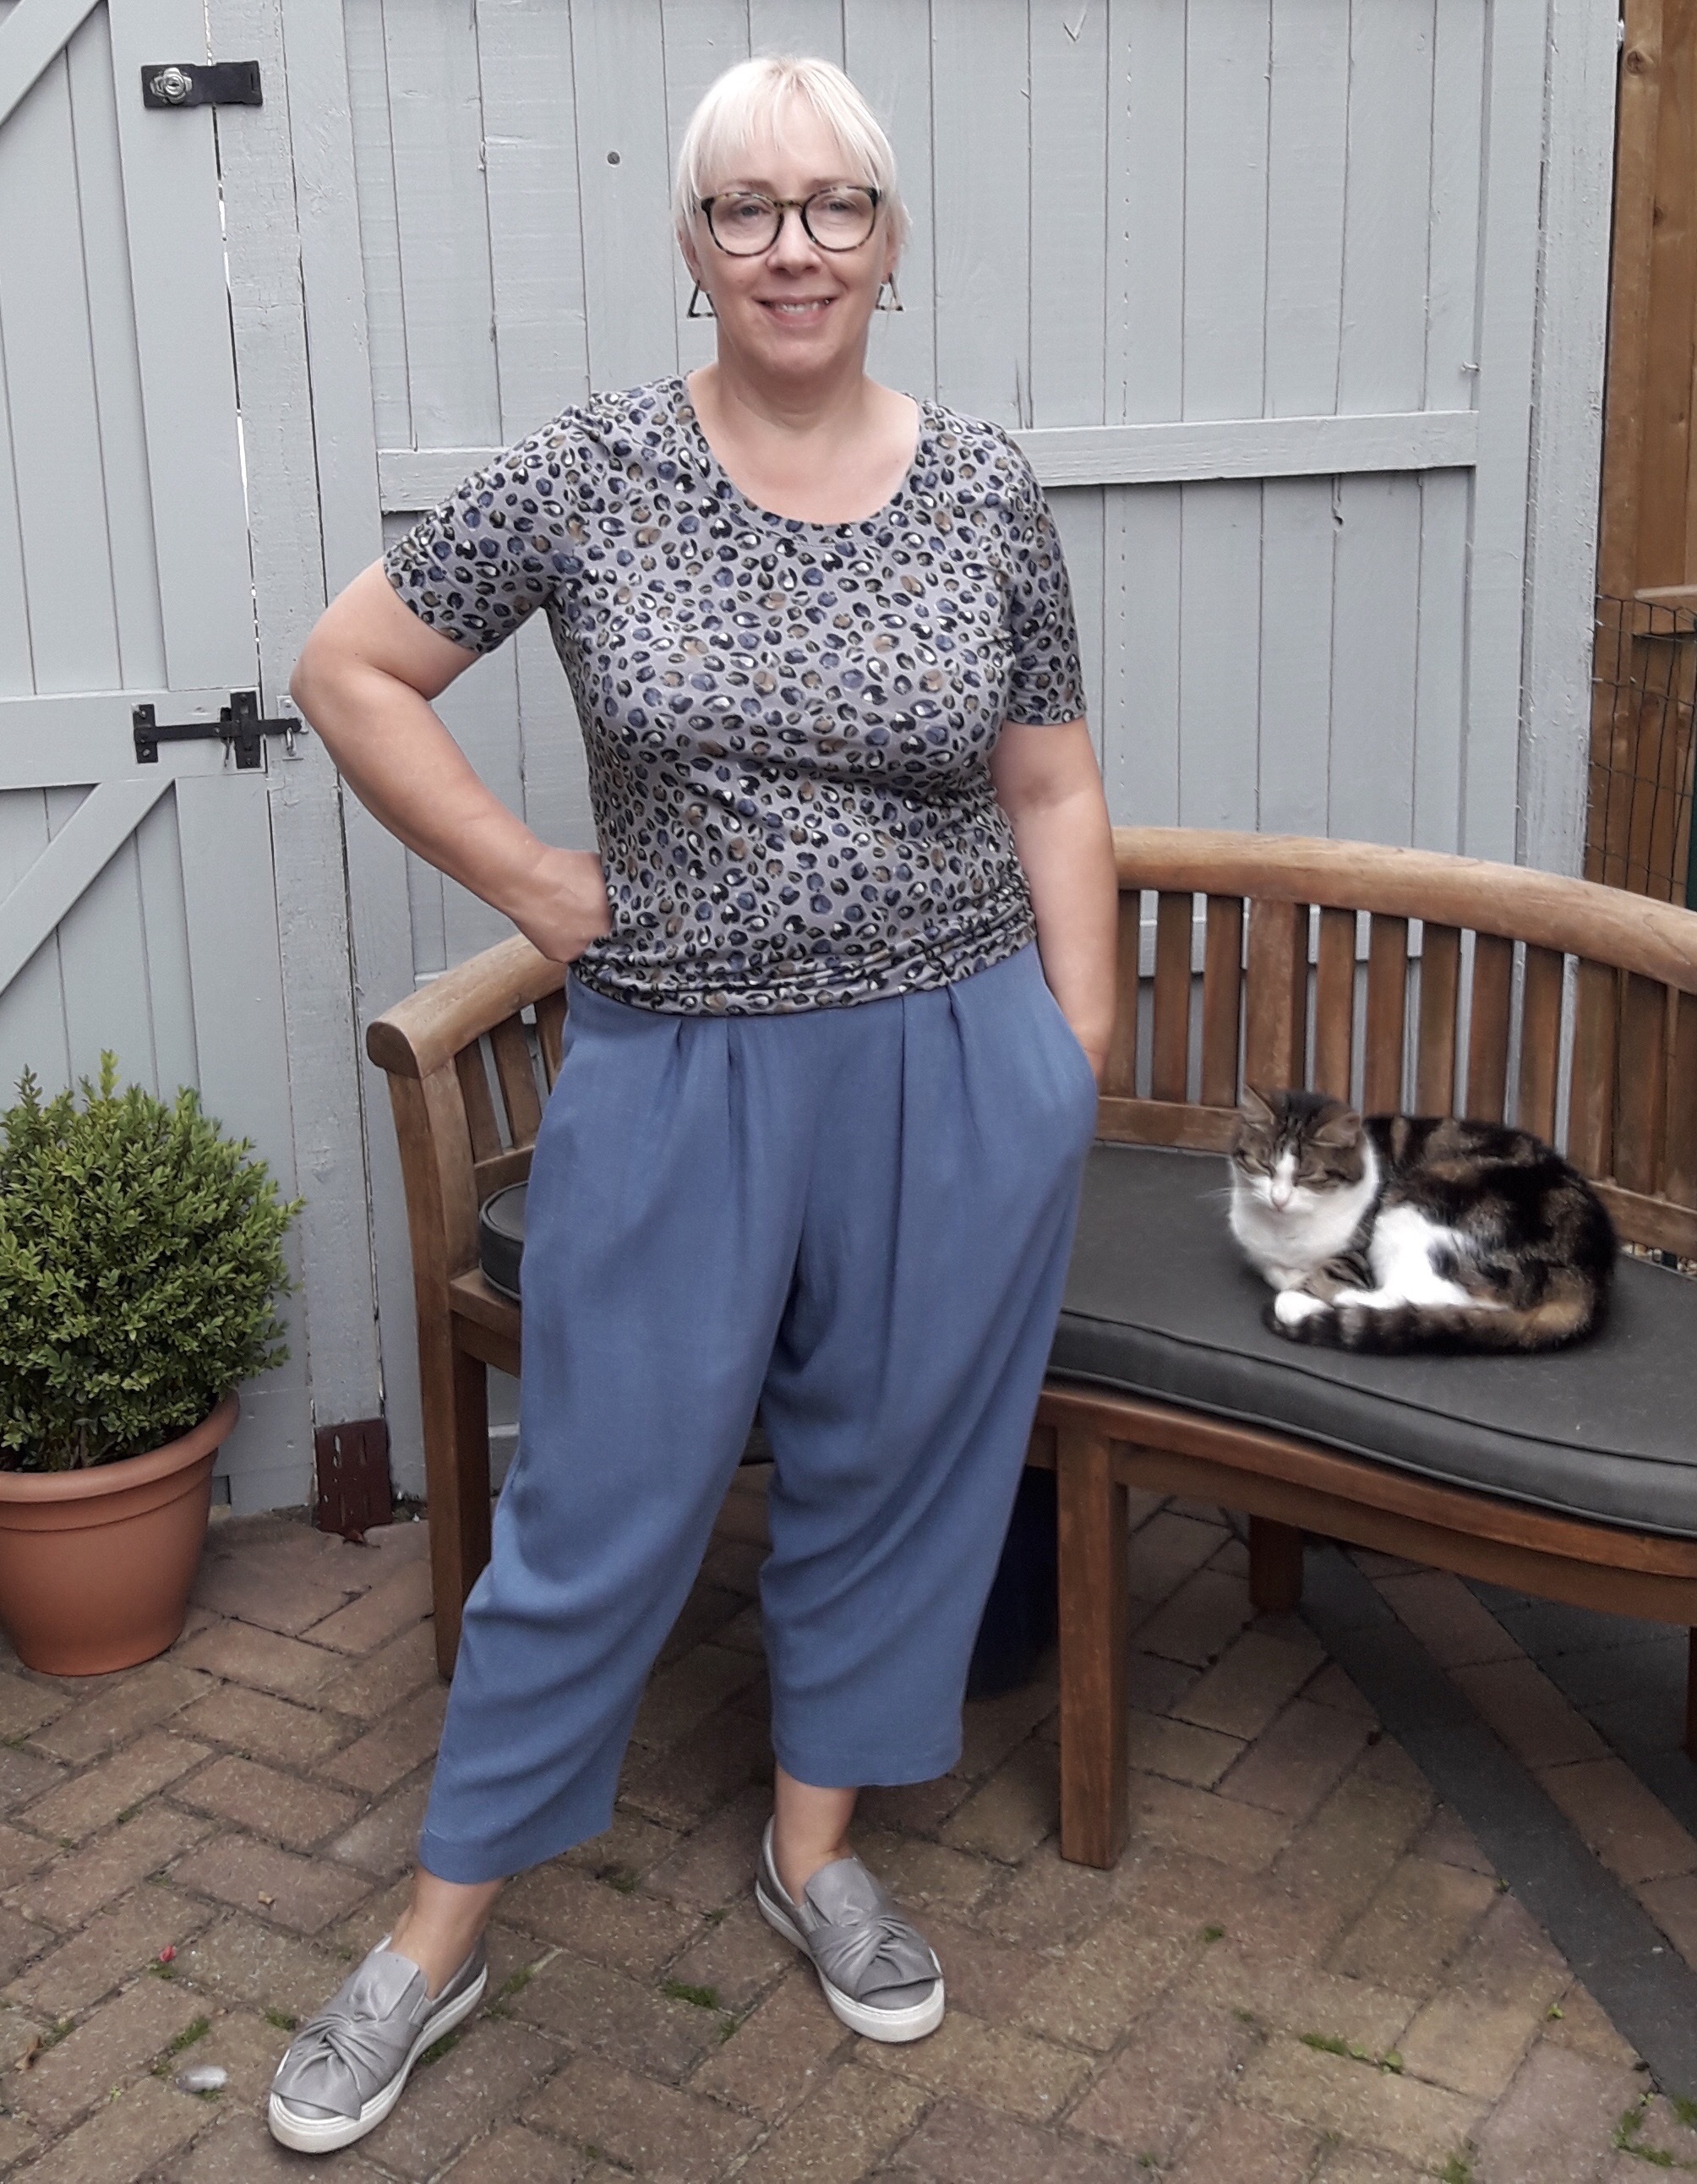
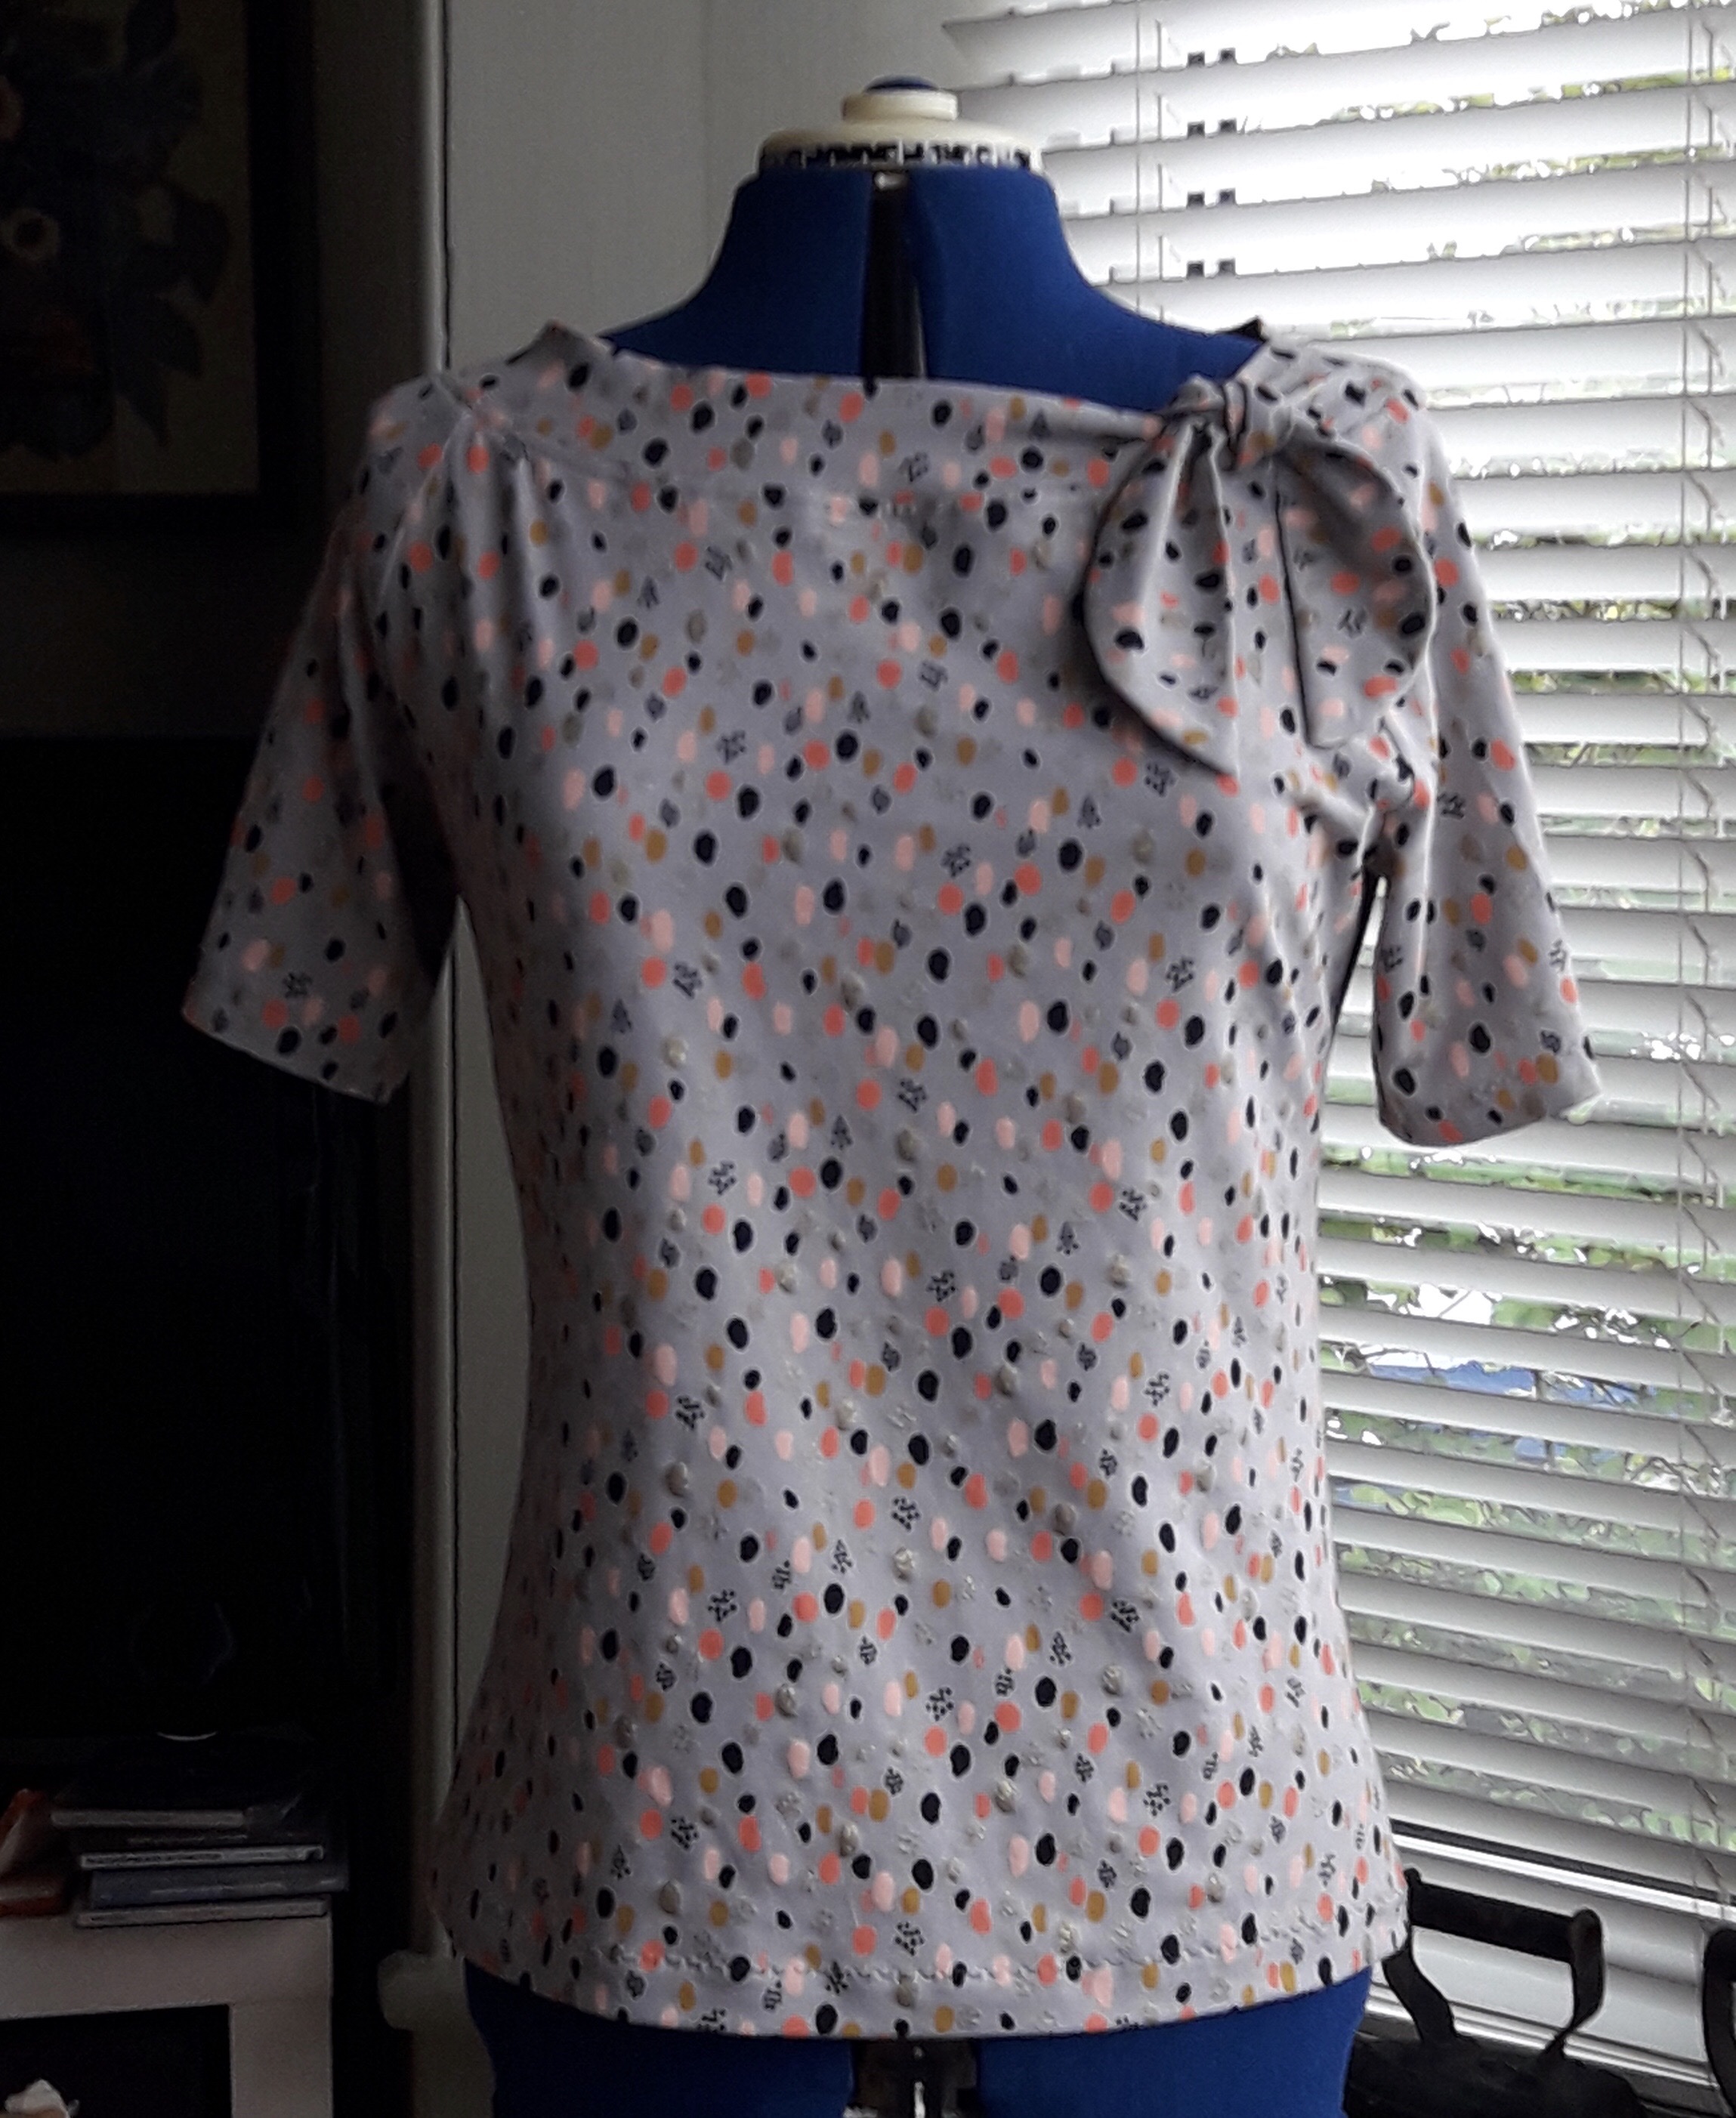
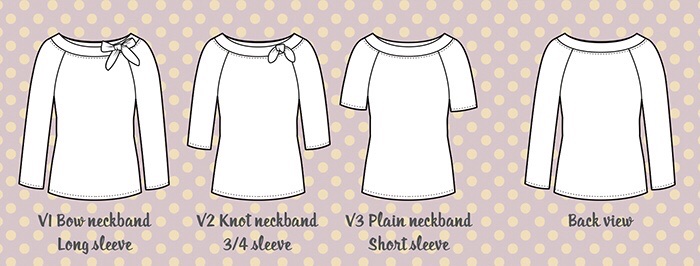
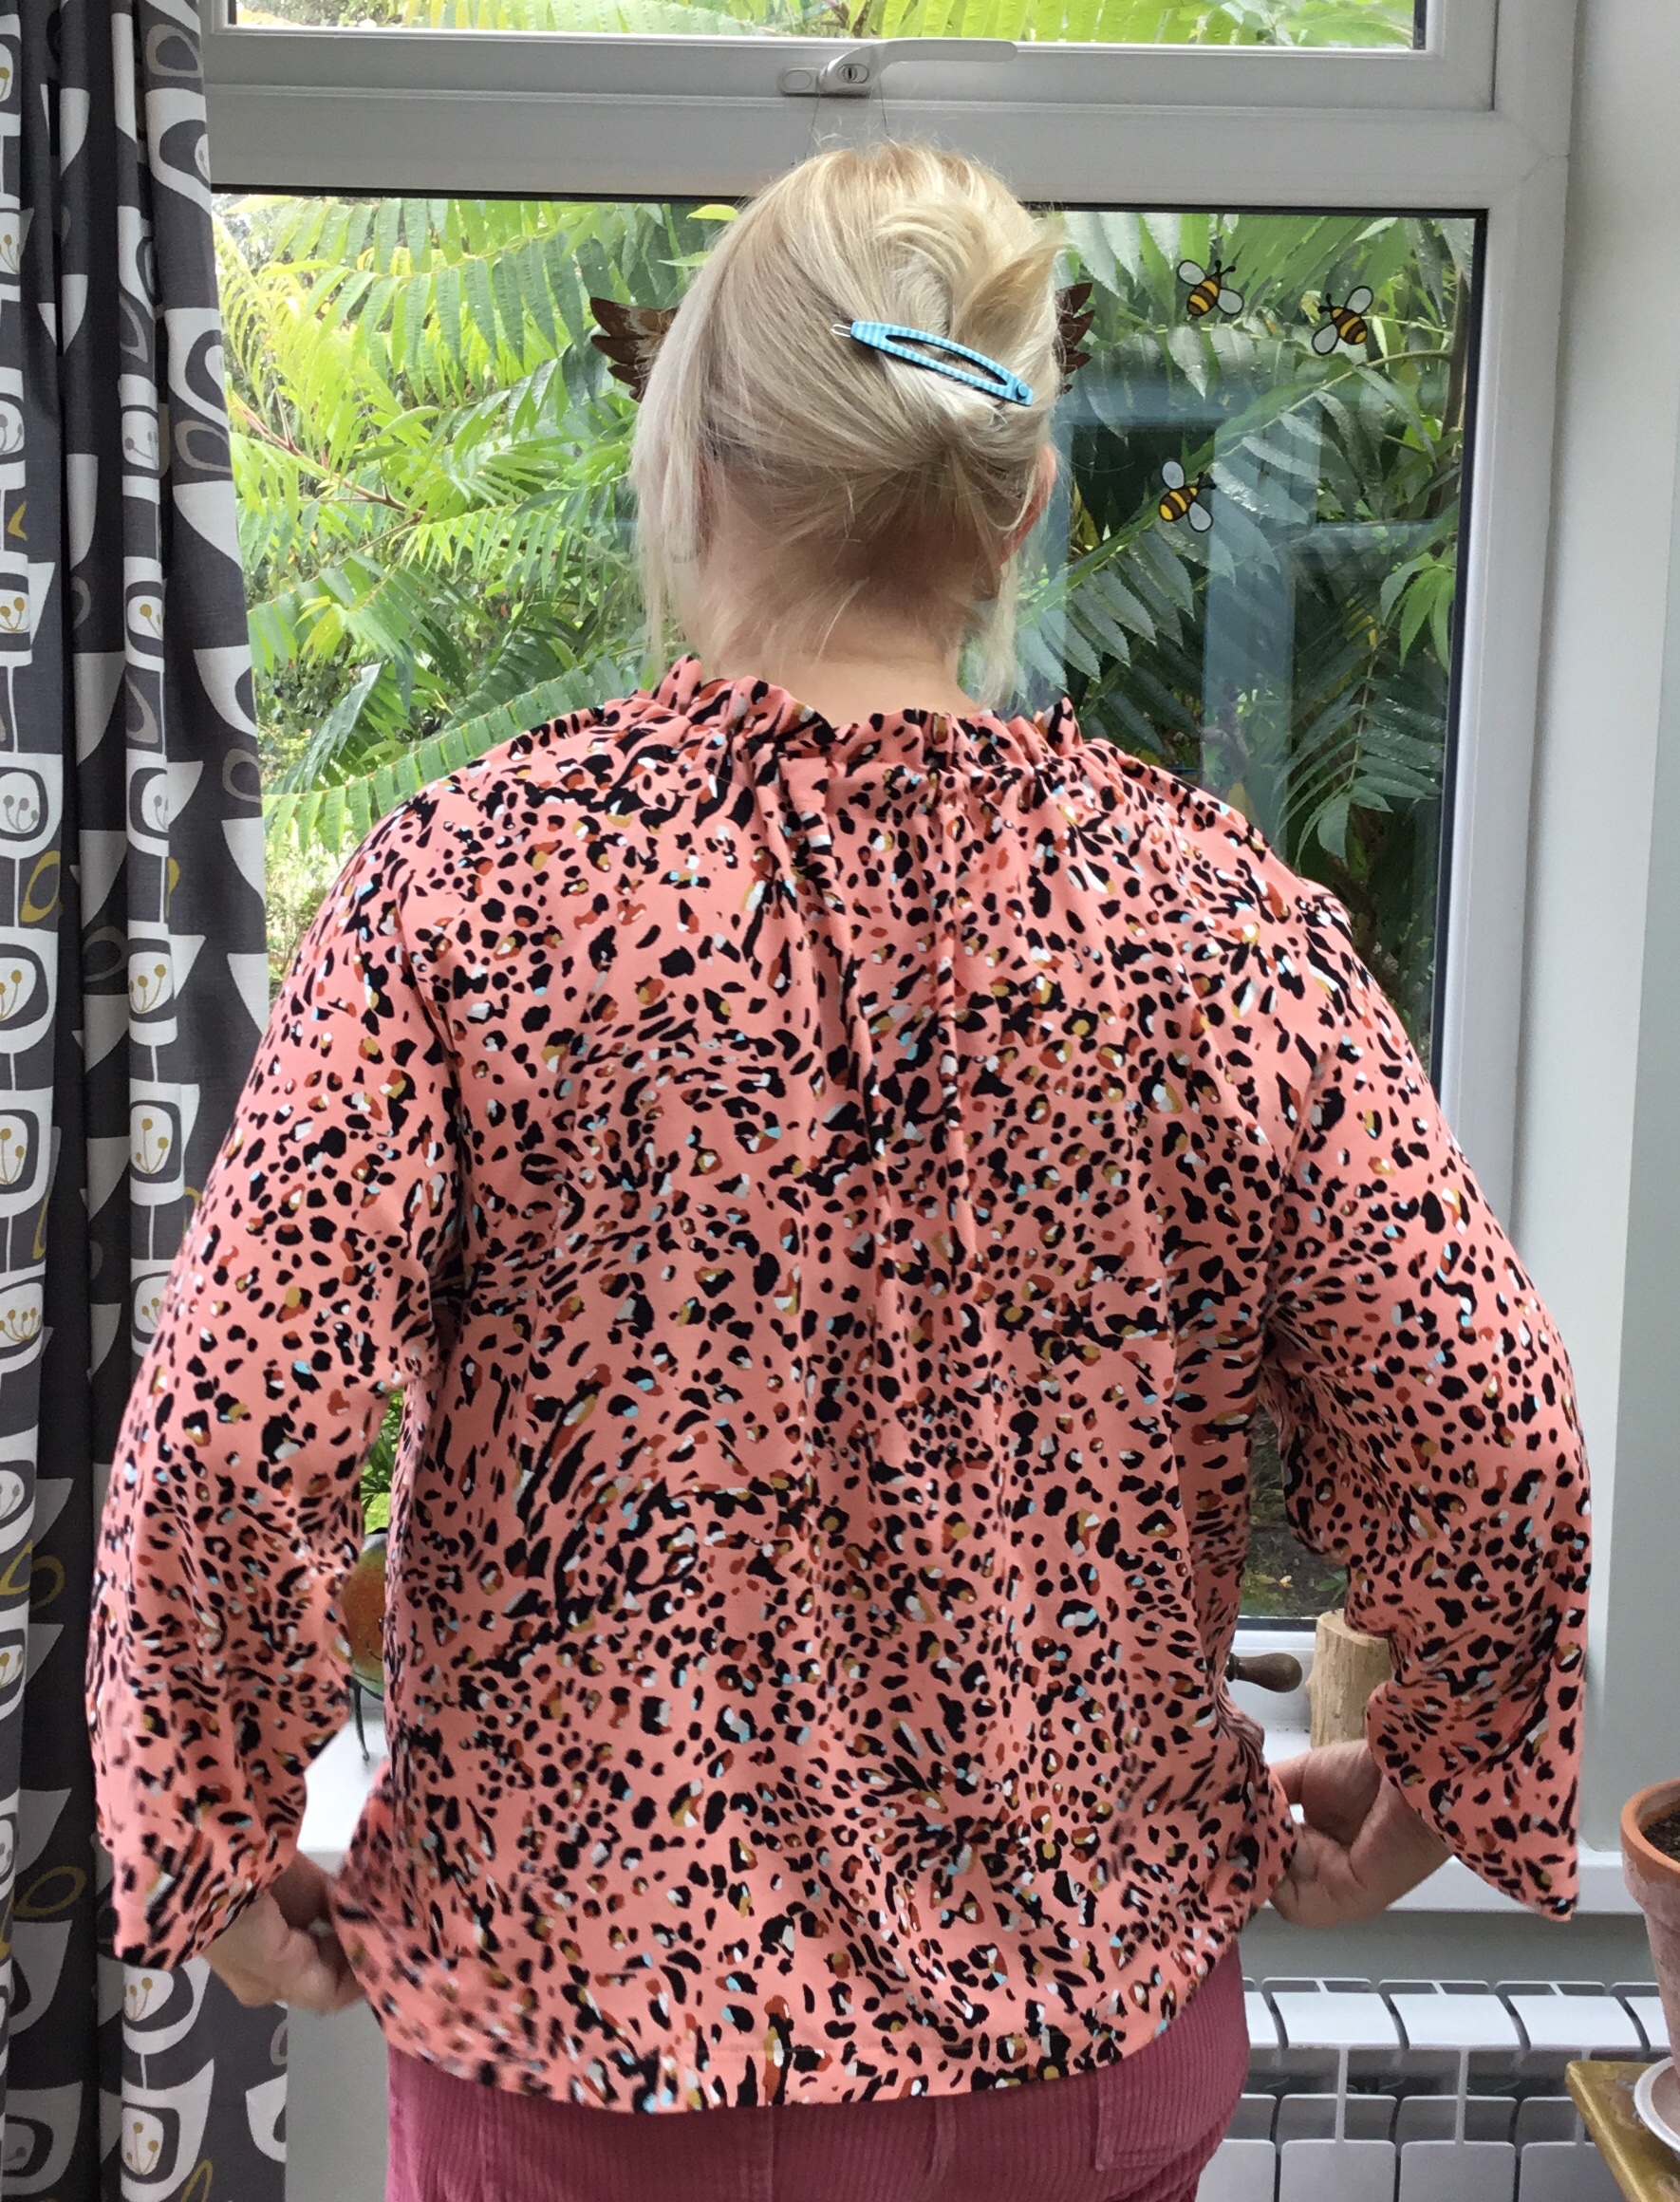
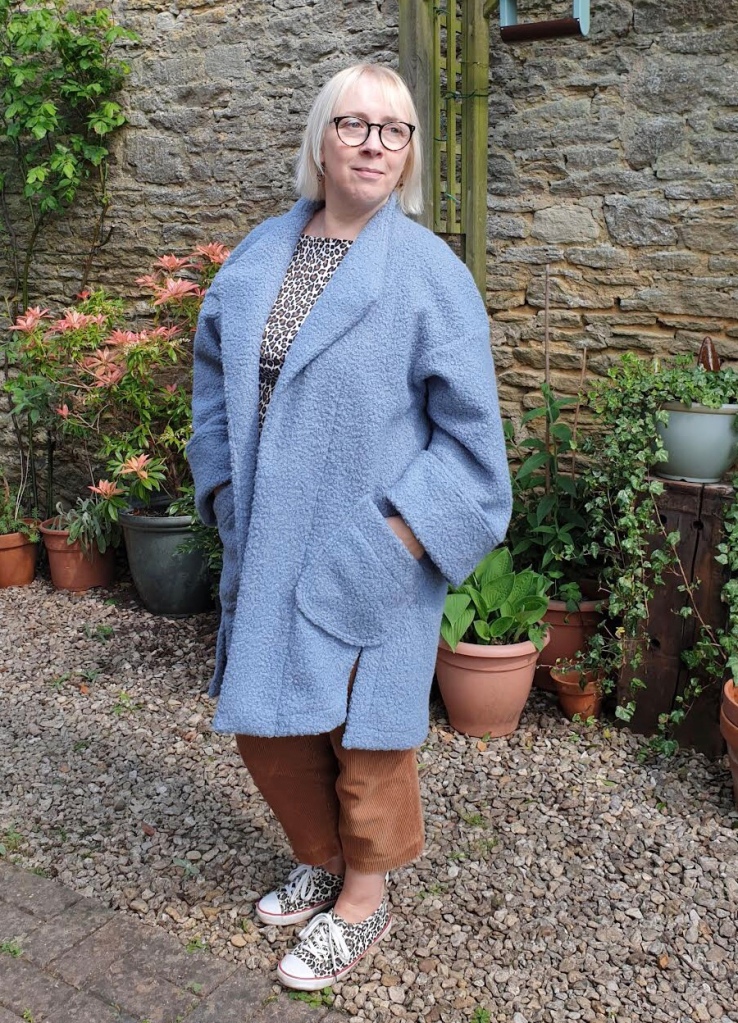
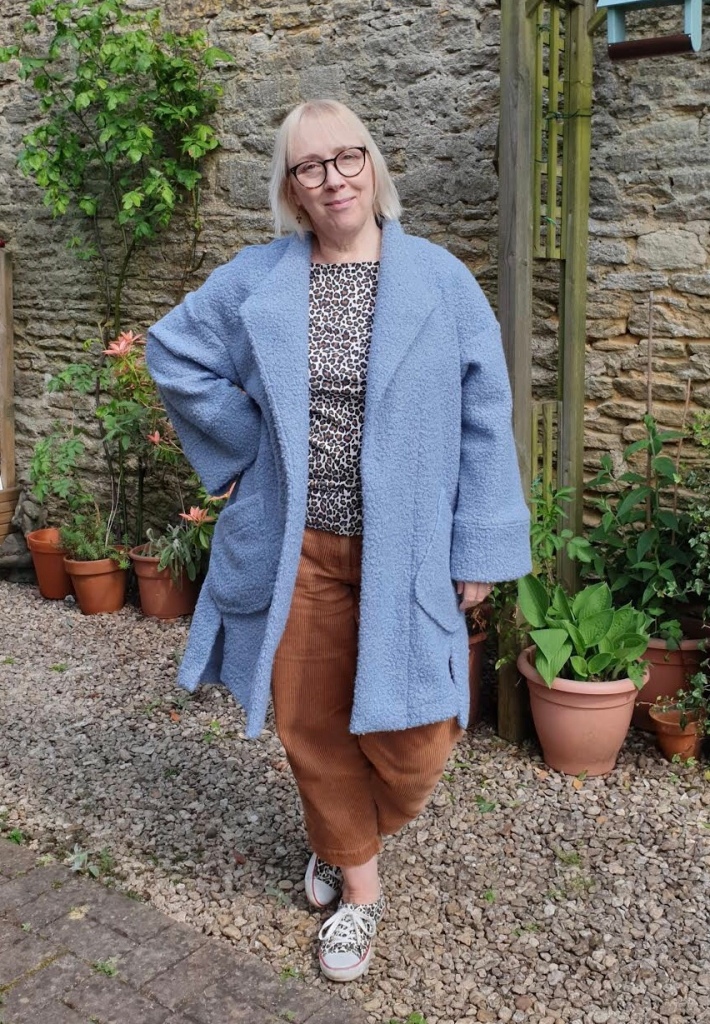
Love all the details on this coat. The fabric is a sky blue boucle bought from Simply Fabrics Brixton.

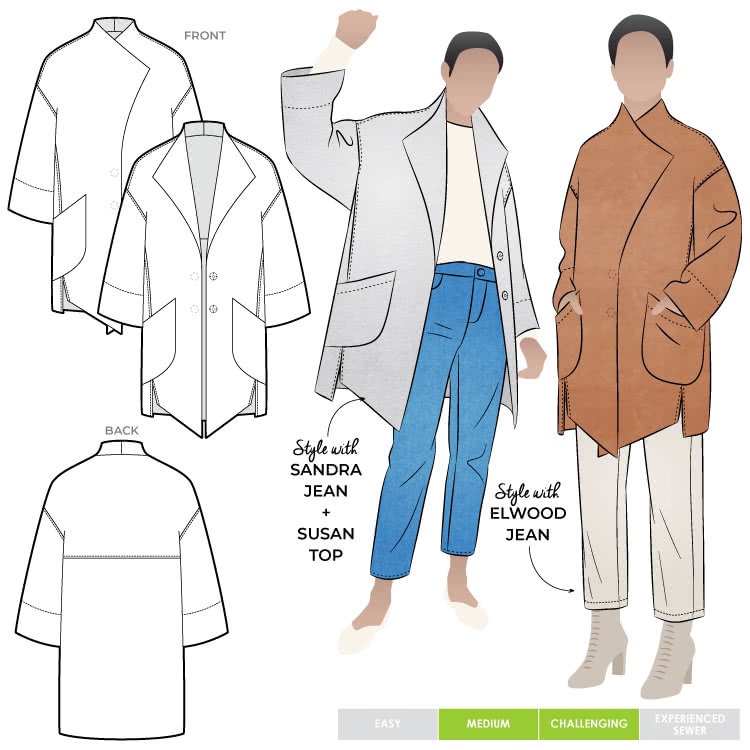
The pattern instructions are minimal, but after a few head scratches came together easily. Style Arc patterns have a diagram showing the order that seams are sewn and I recommend keeping this to hand.

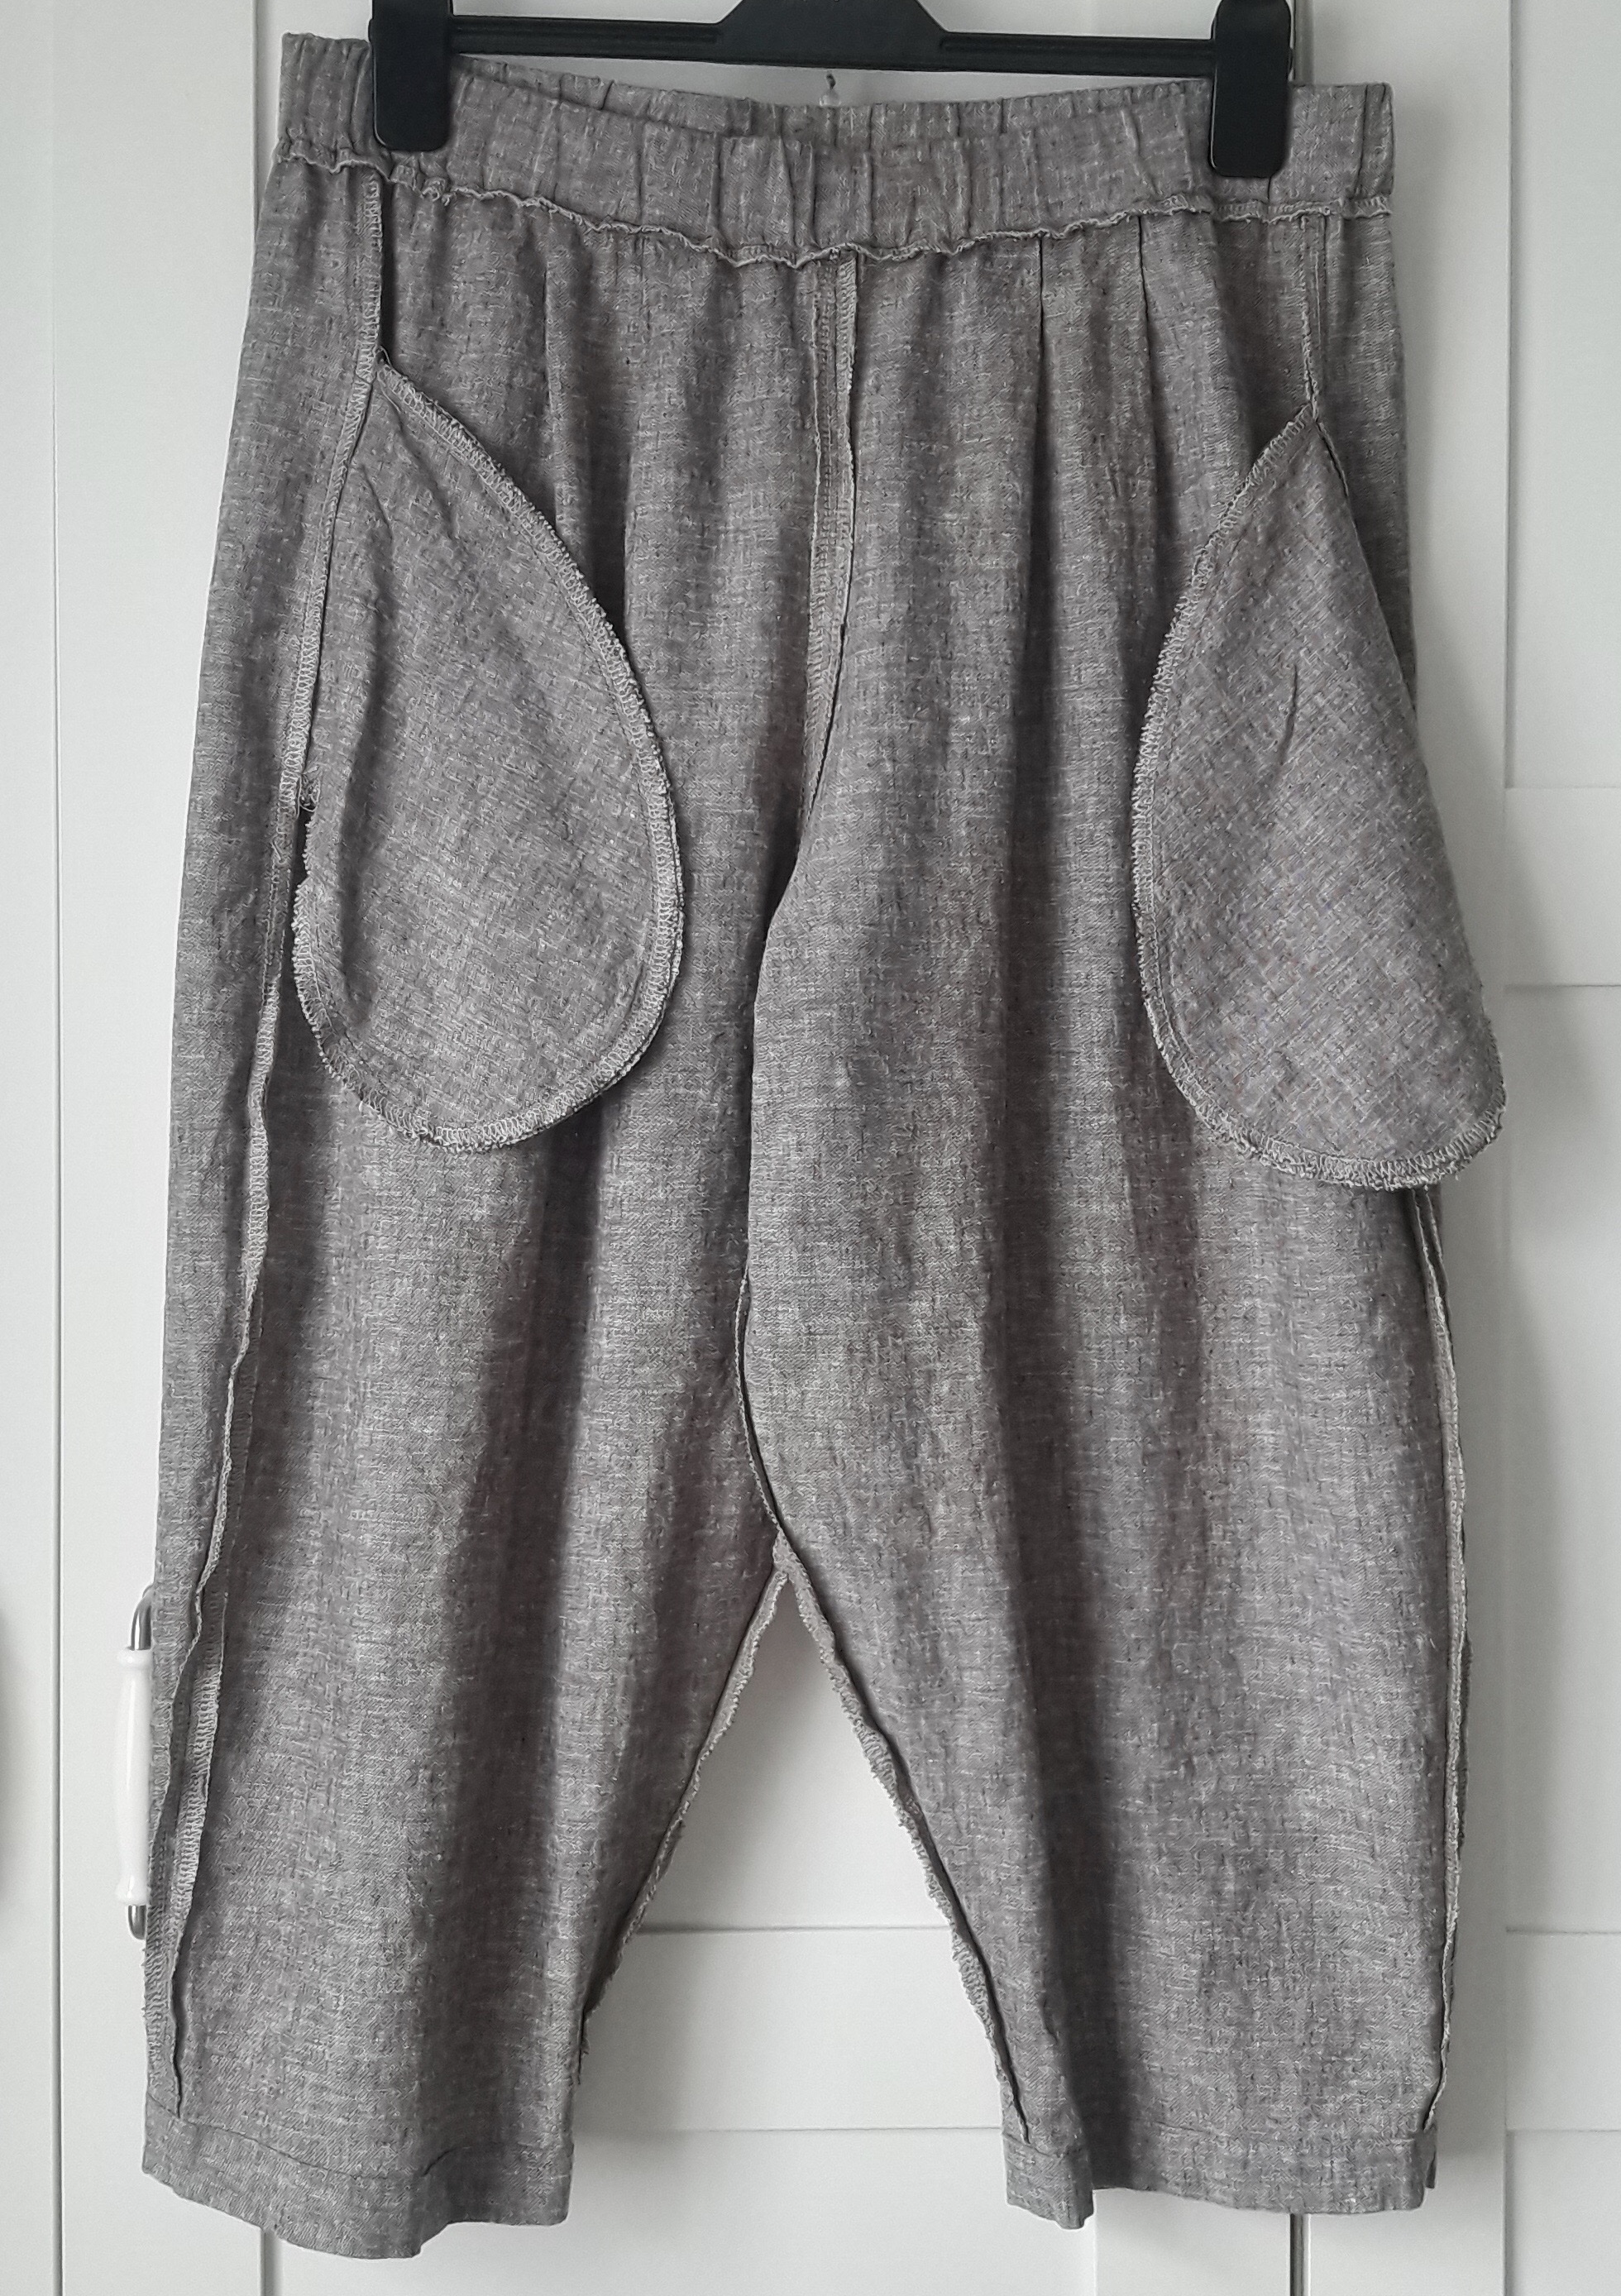
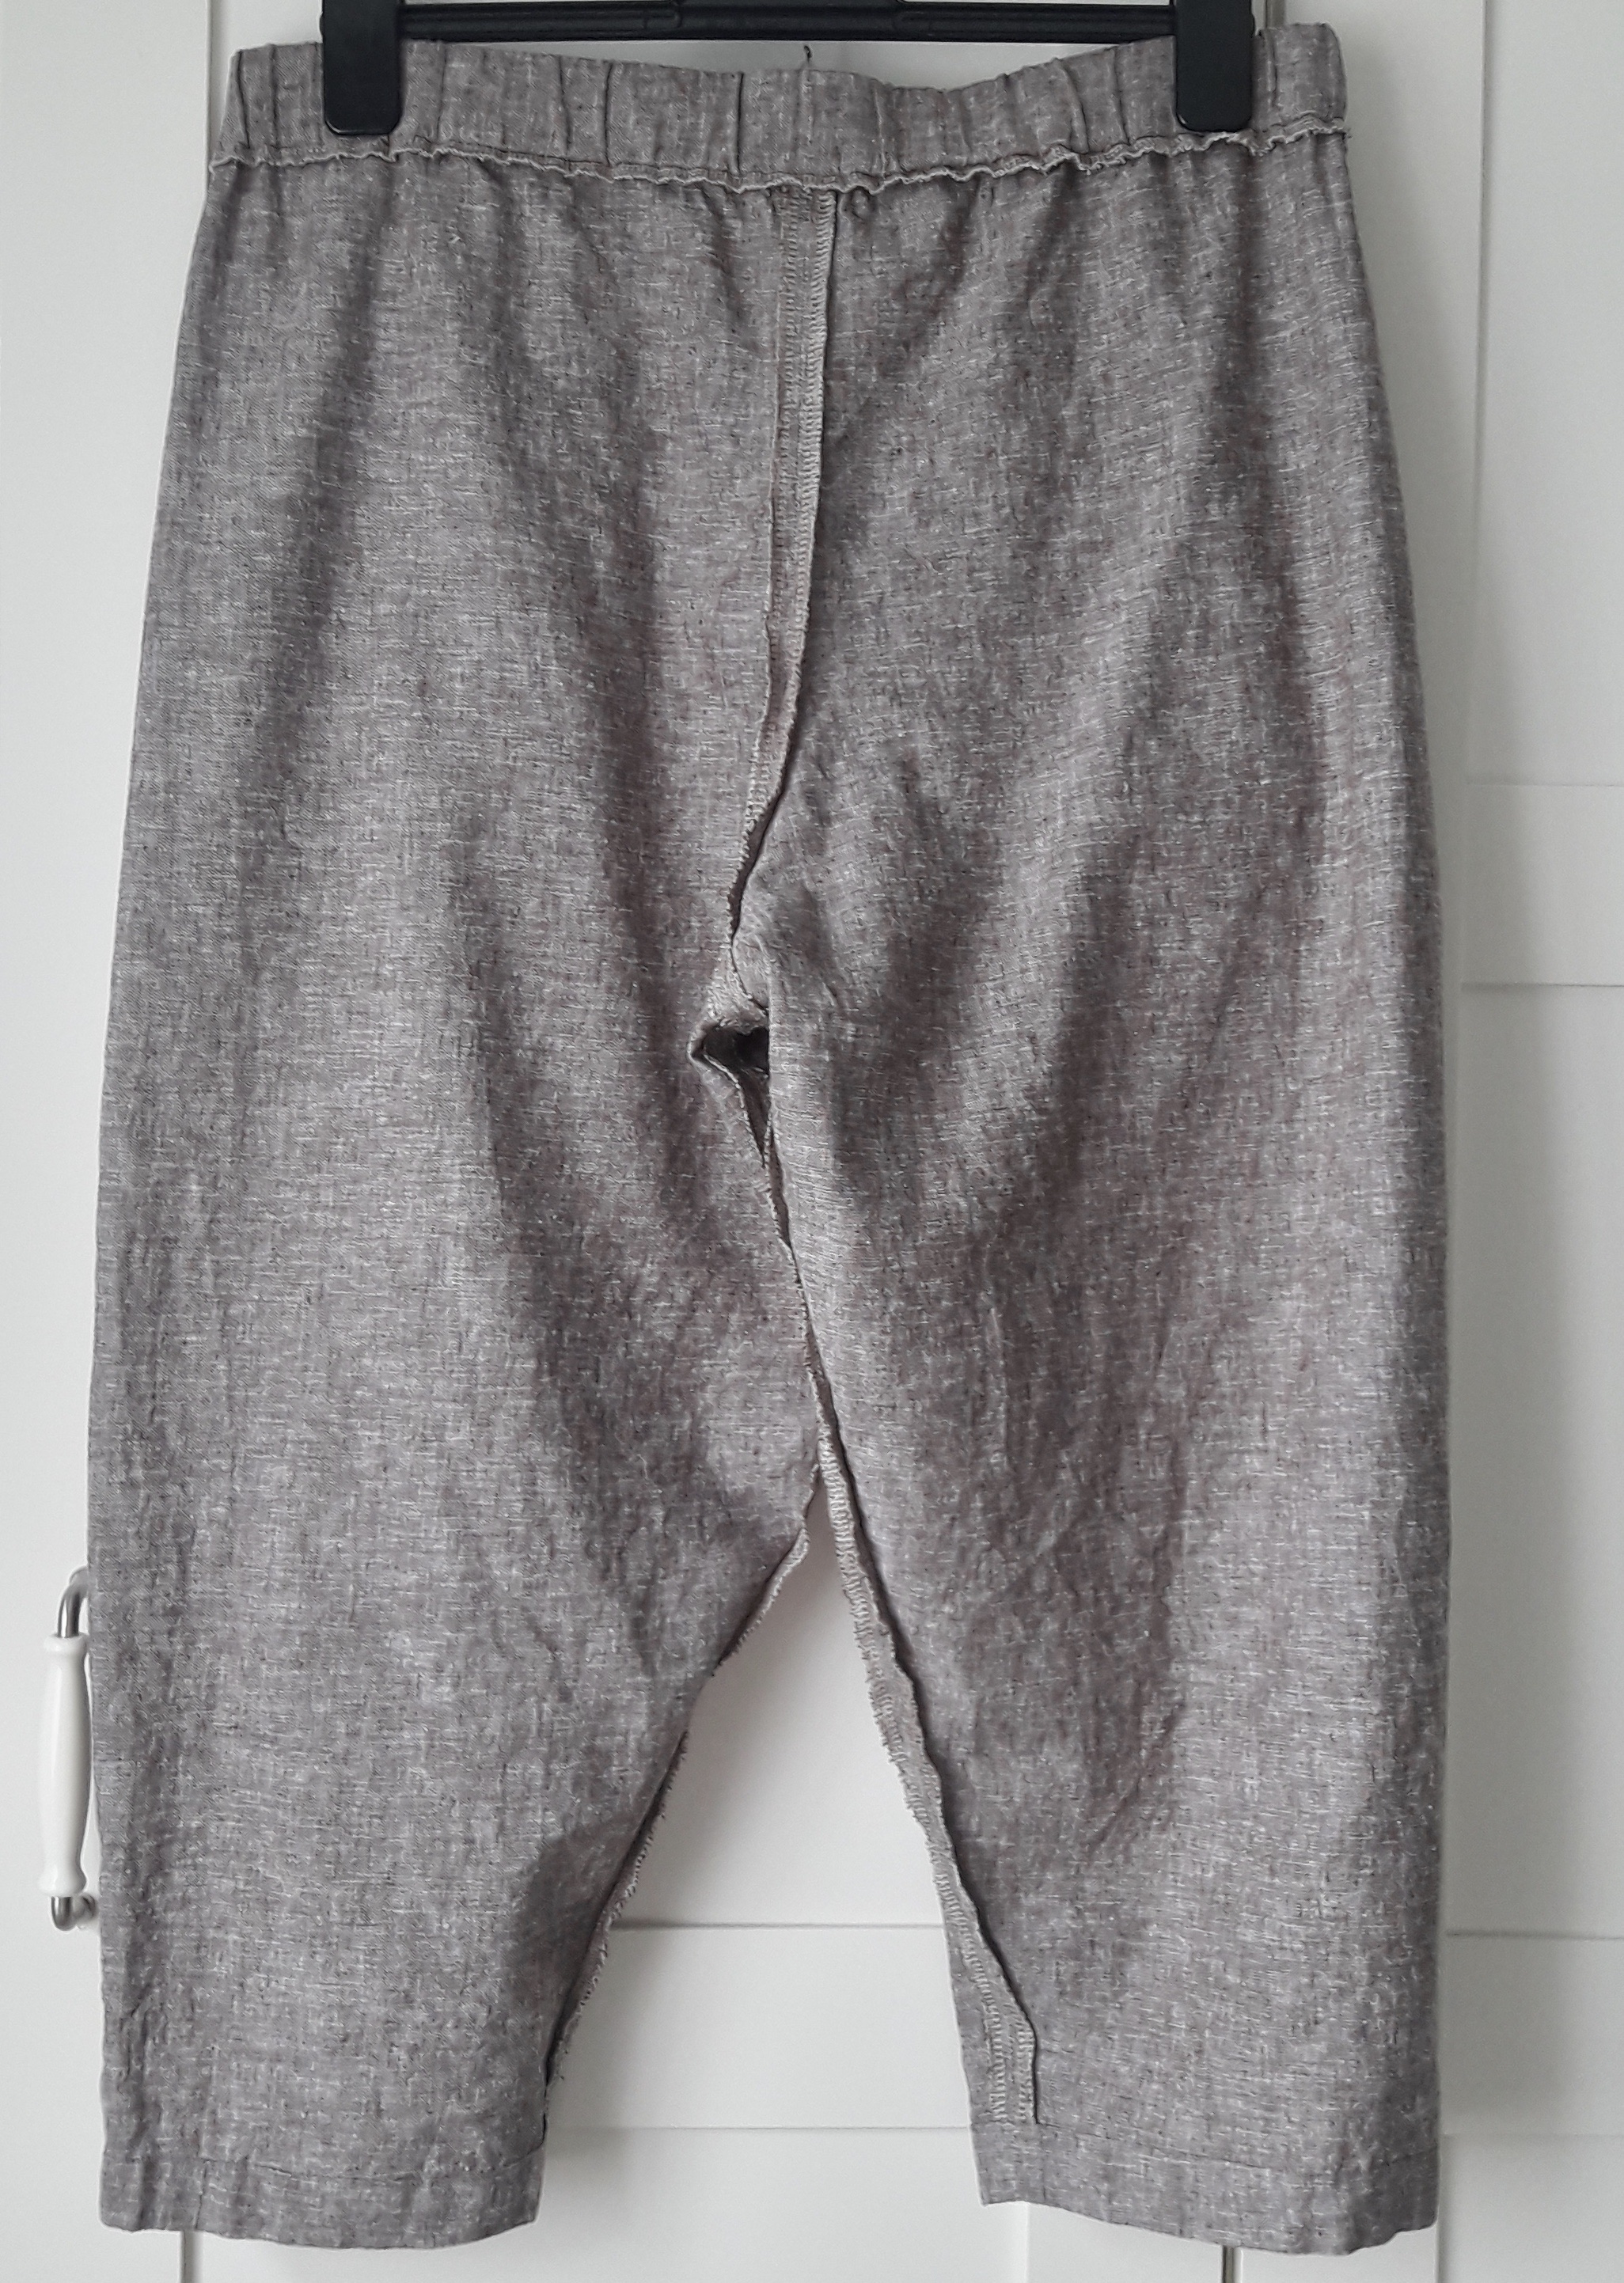
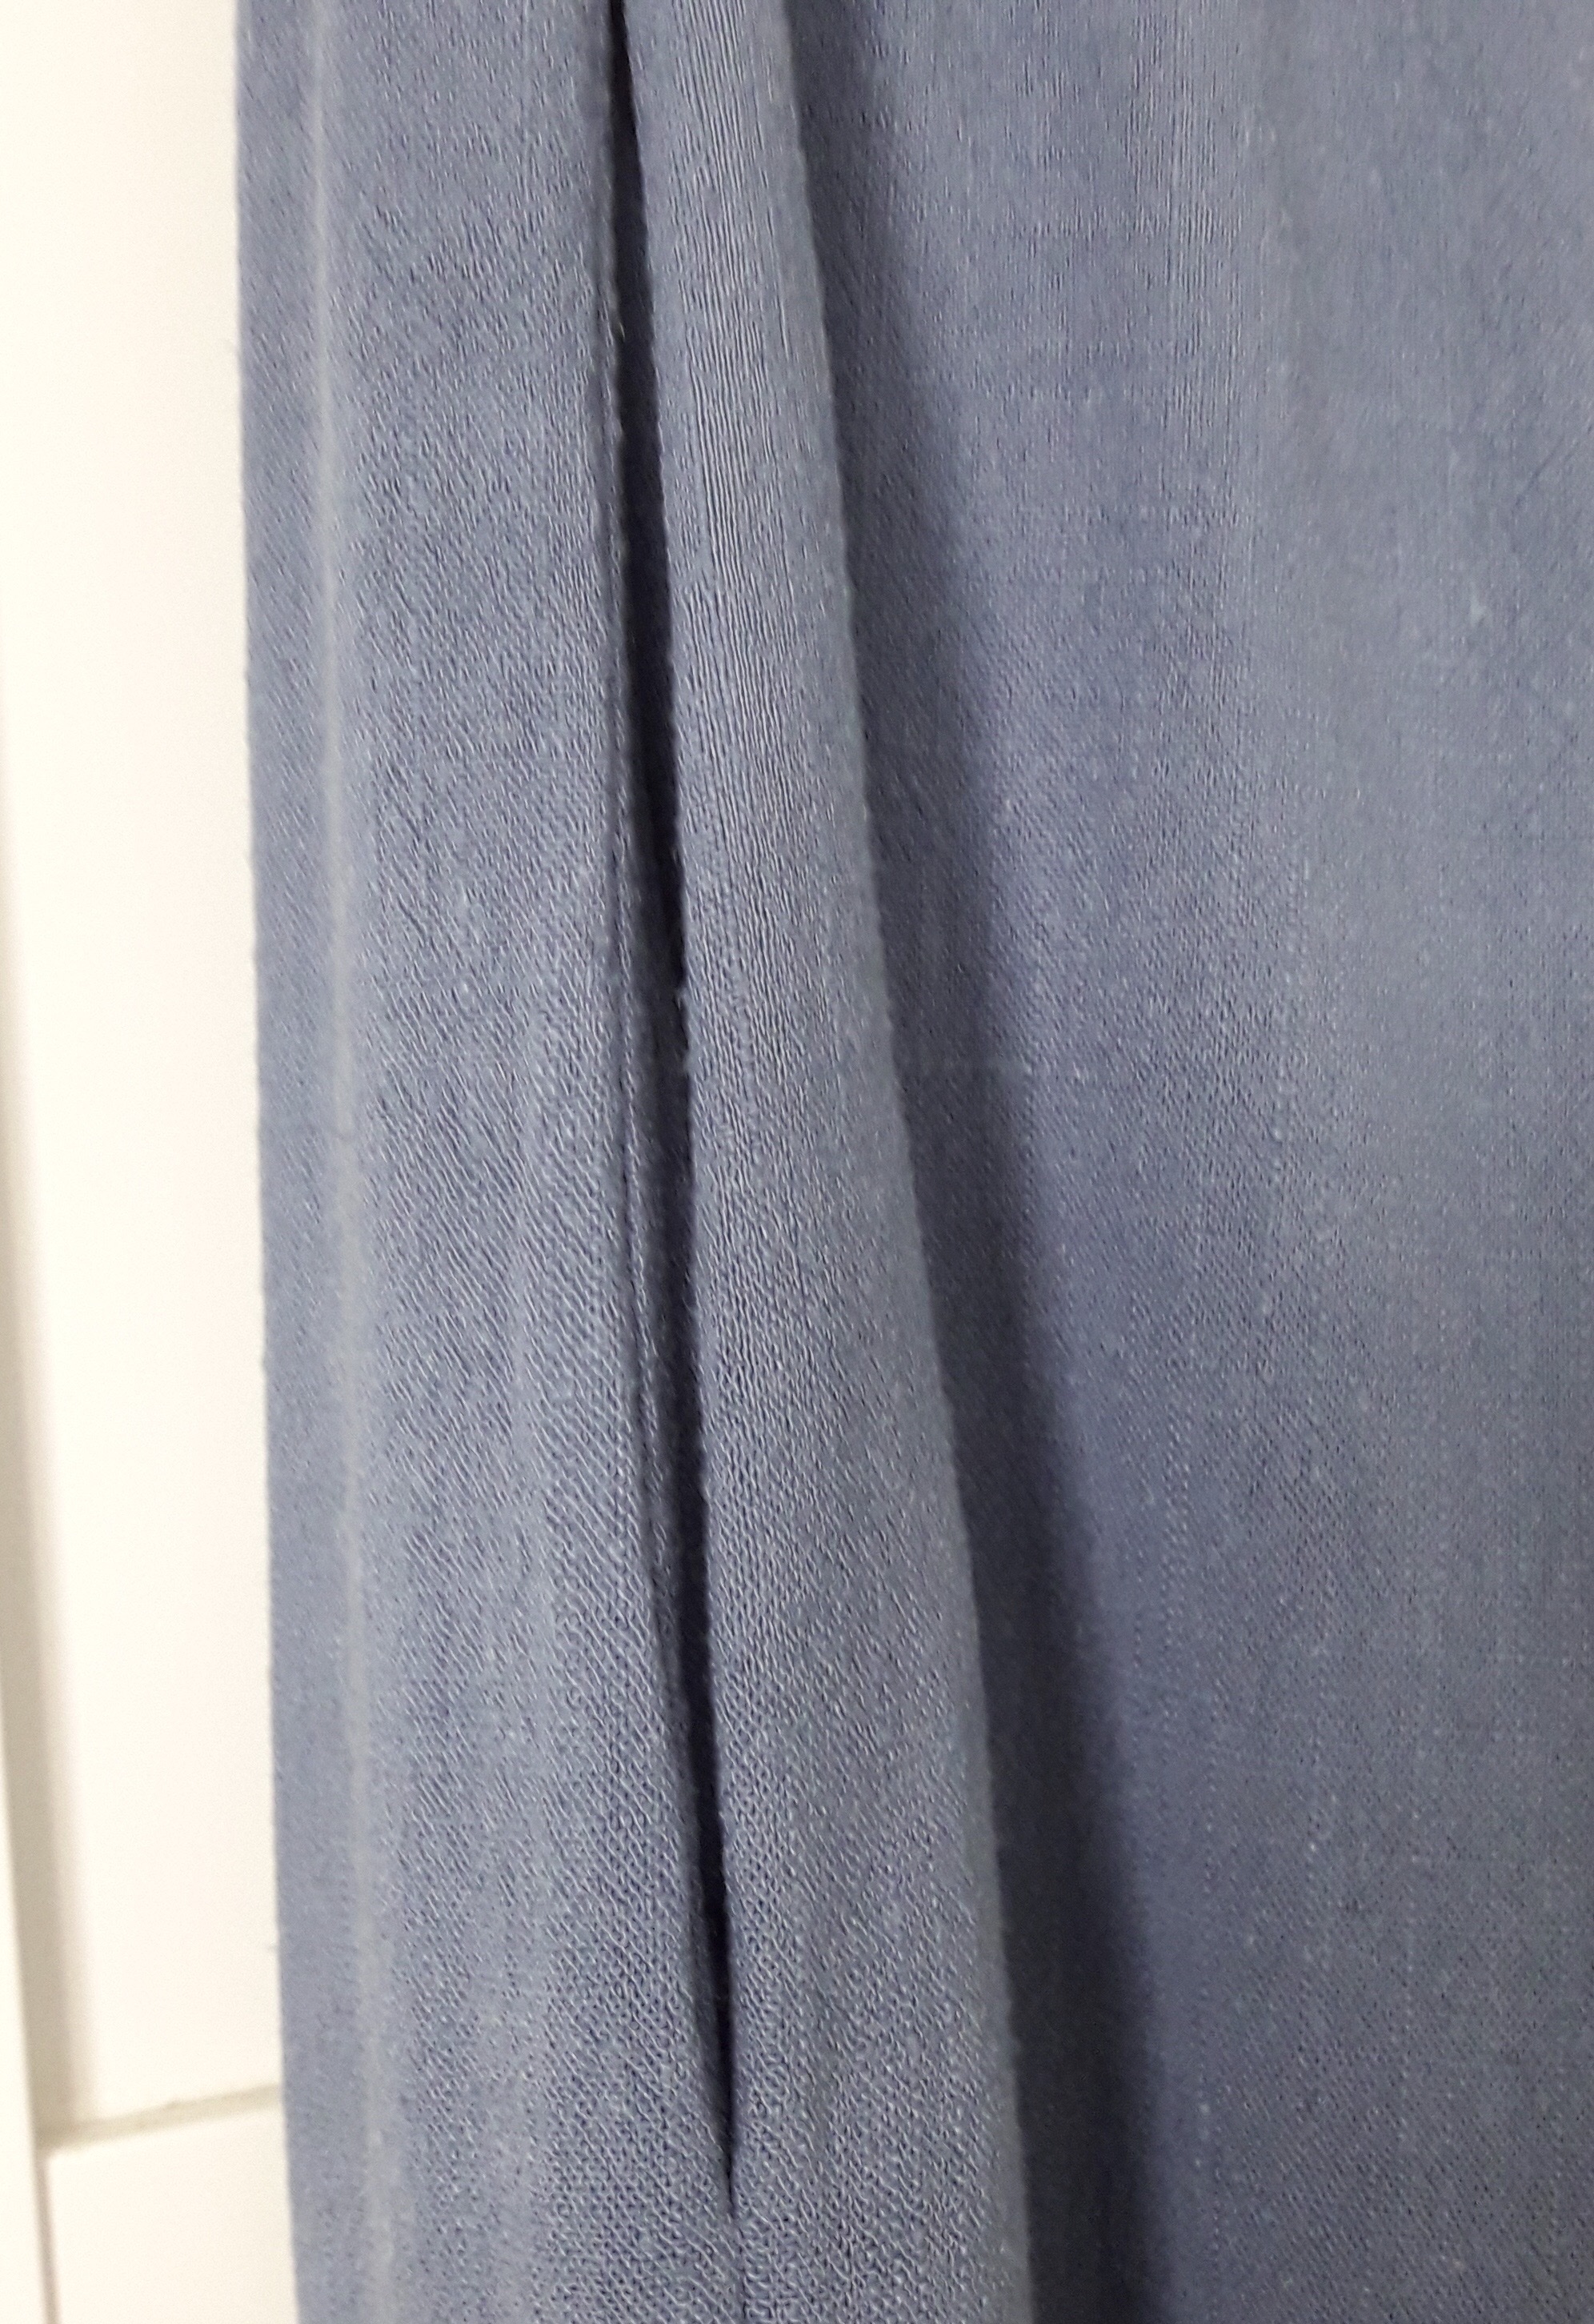
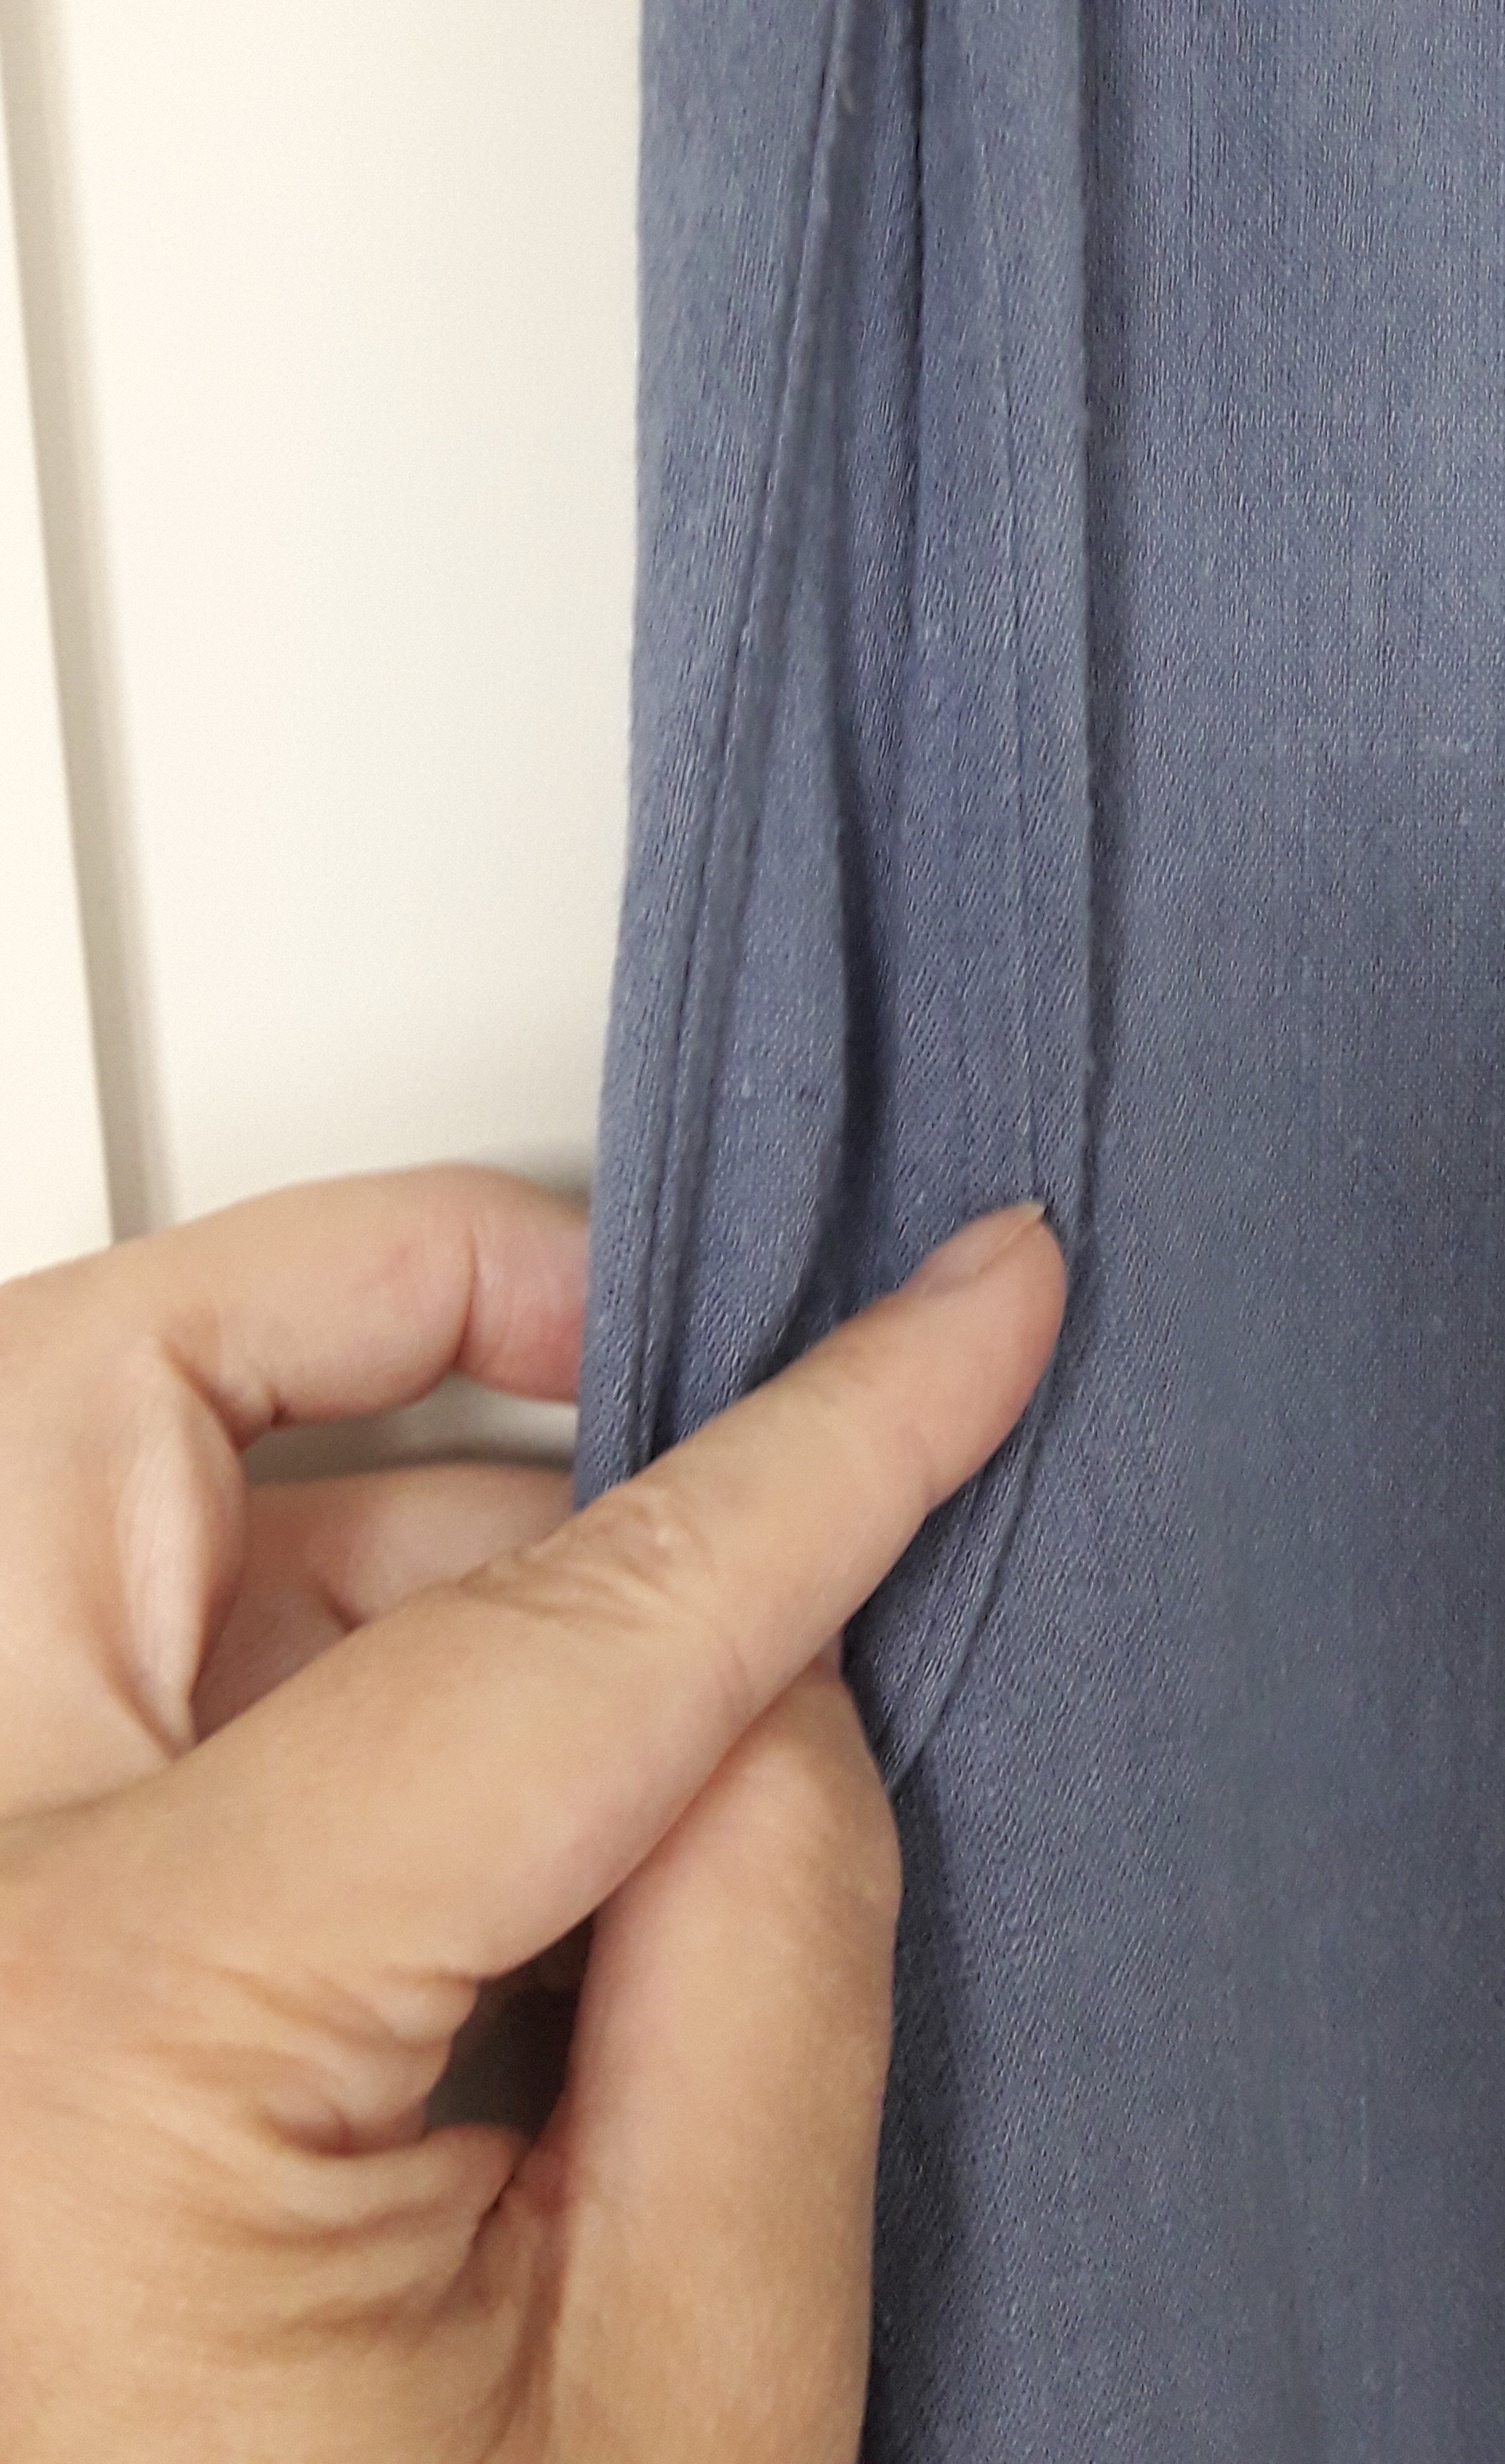
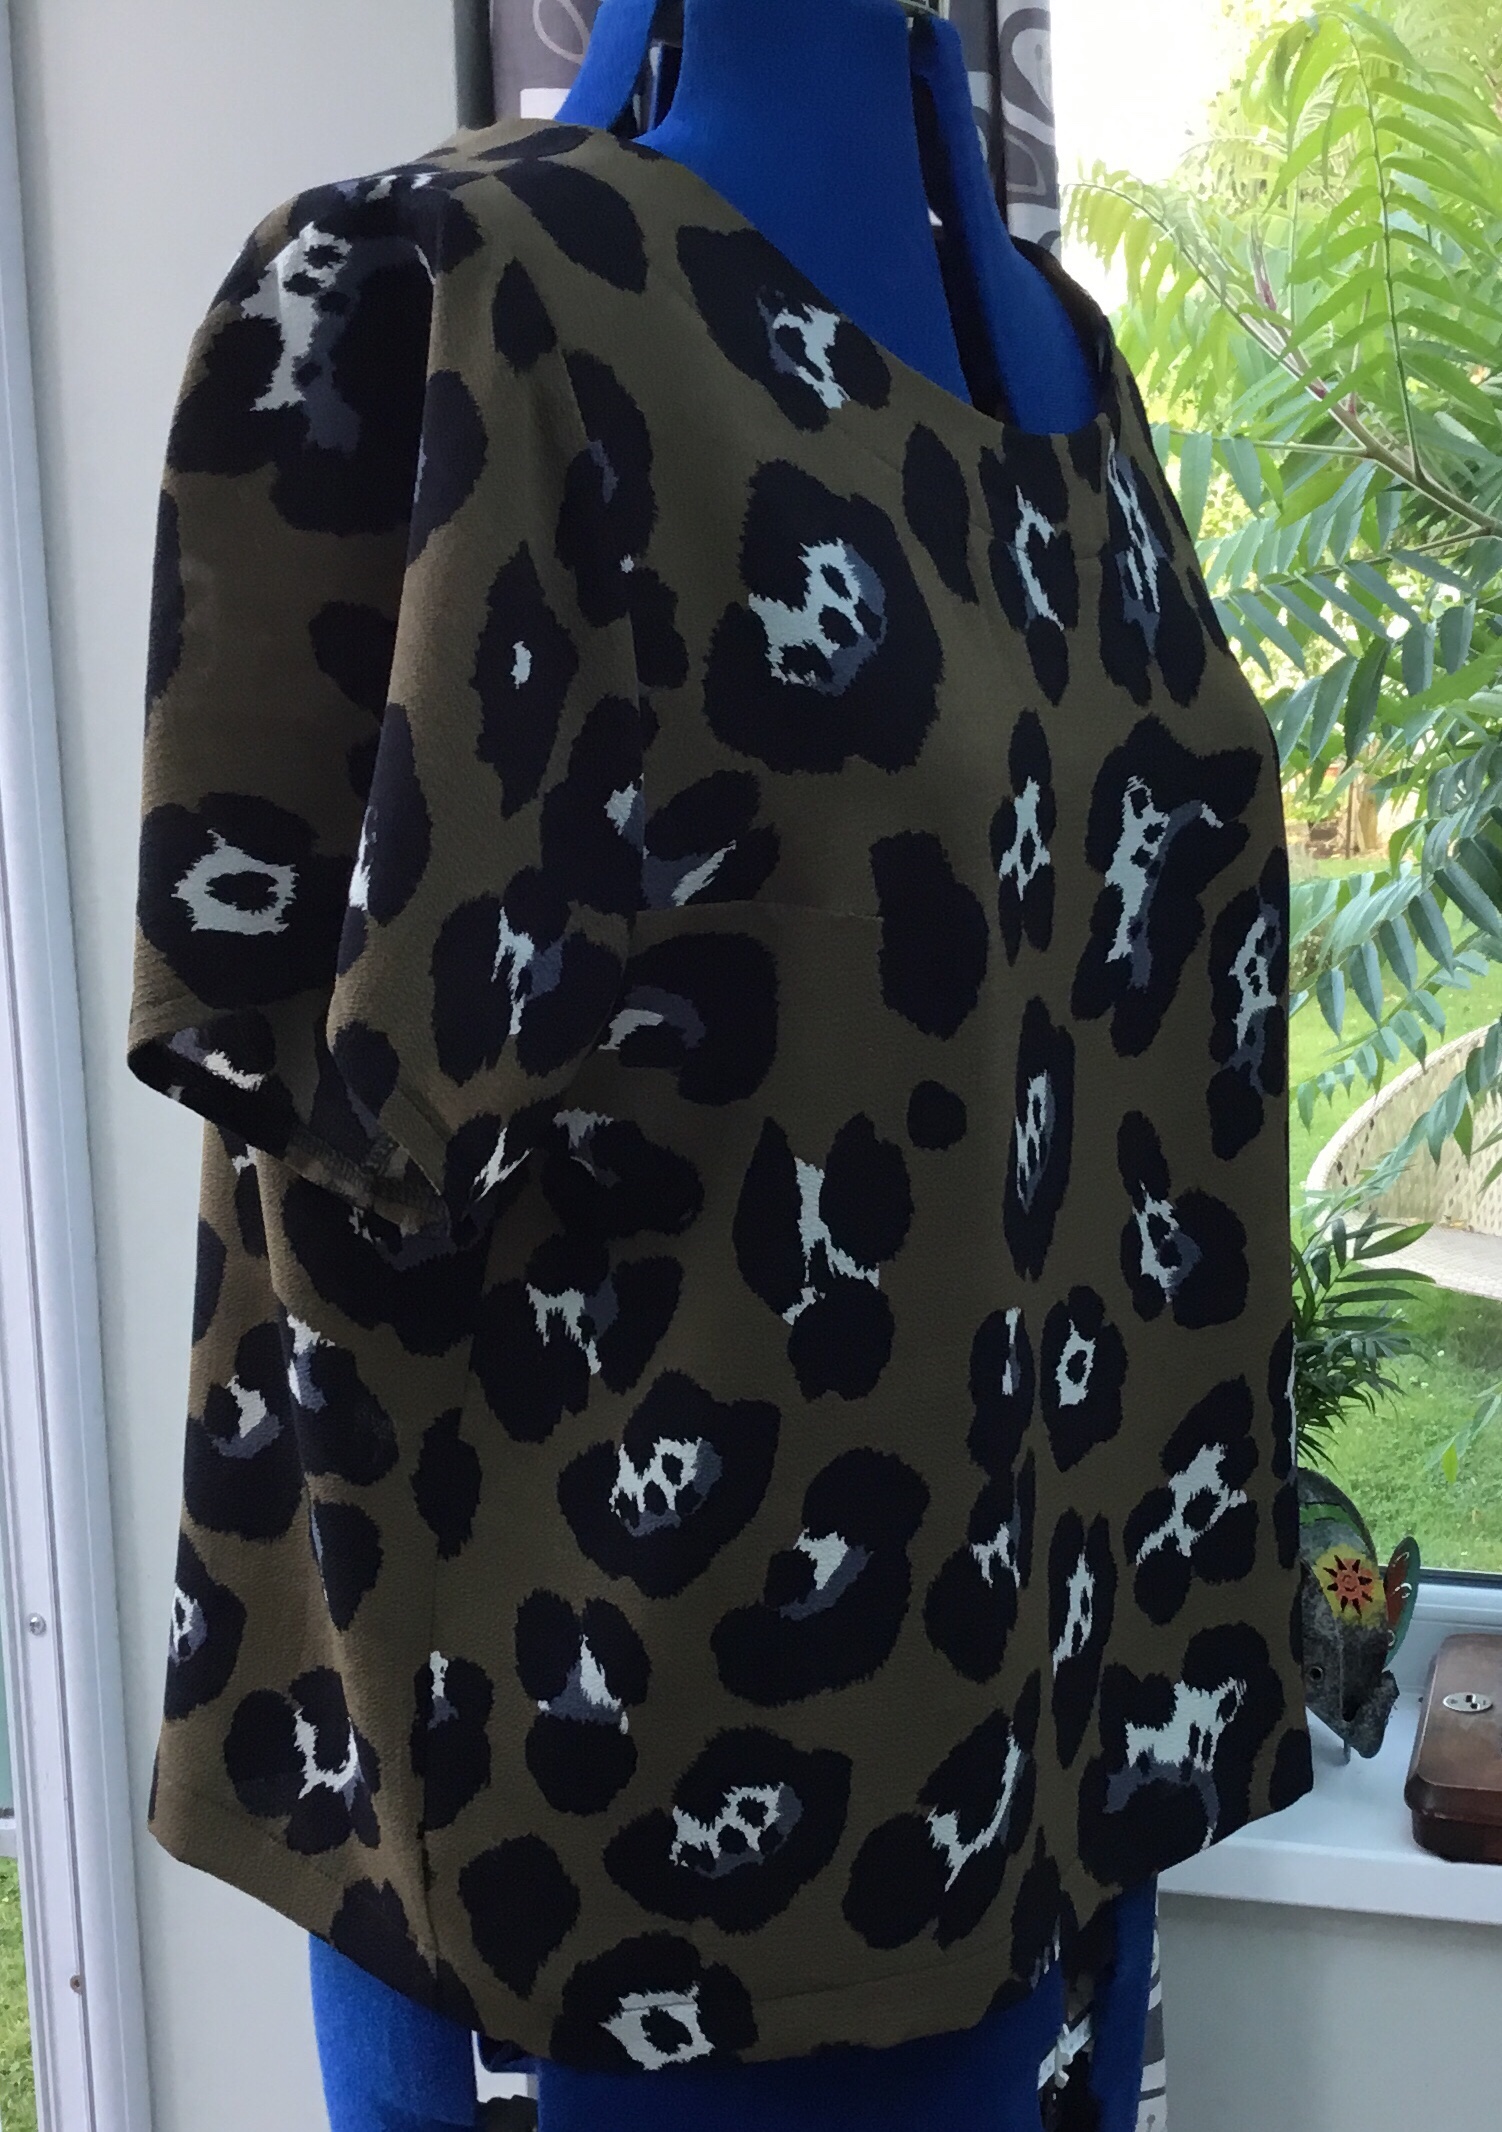
The pattern has a cocoon shape, angled side seams, large pockets and side vents. The pattern is described as ‘slightly oversized’ – it is large! I sized down a size after trying on a completed version and it is still really roomy.

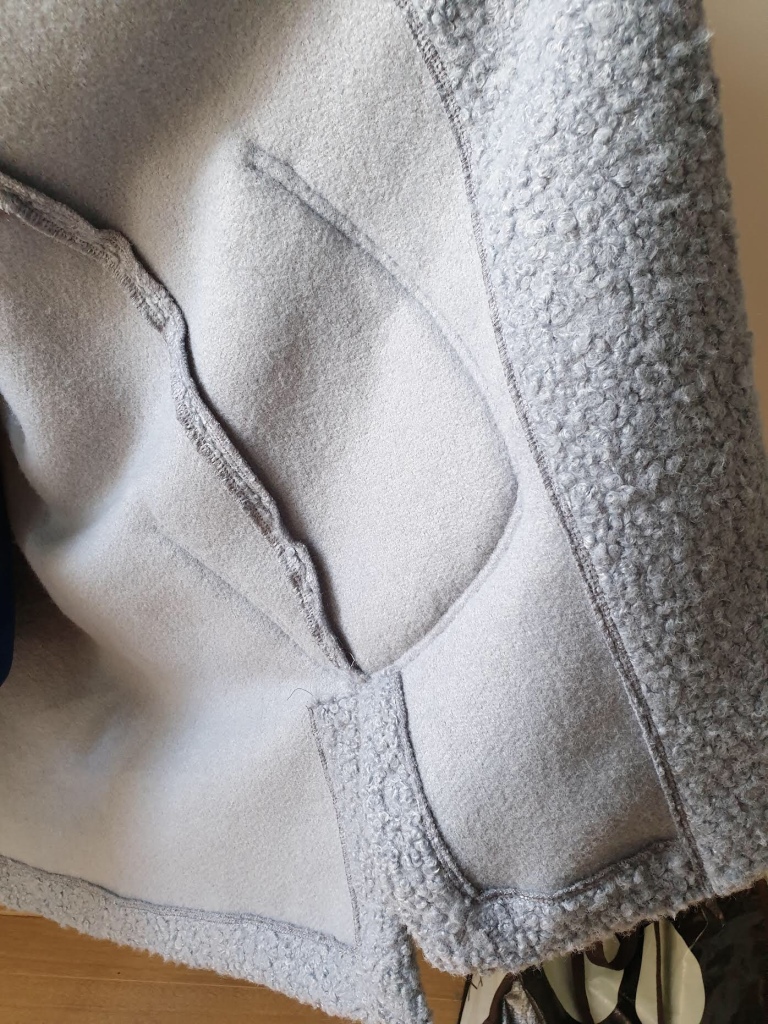
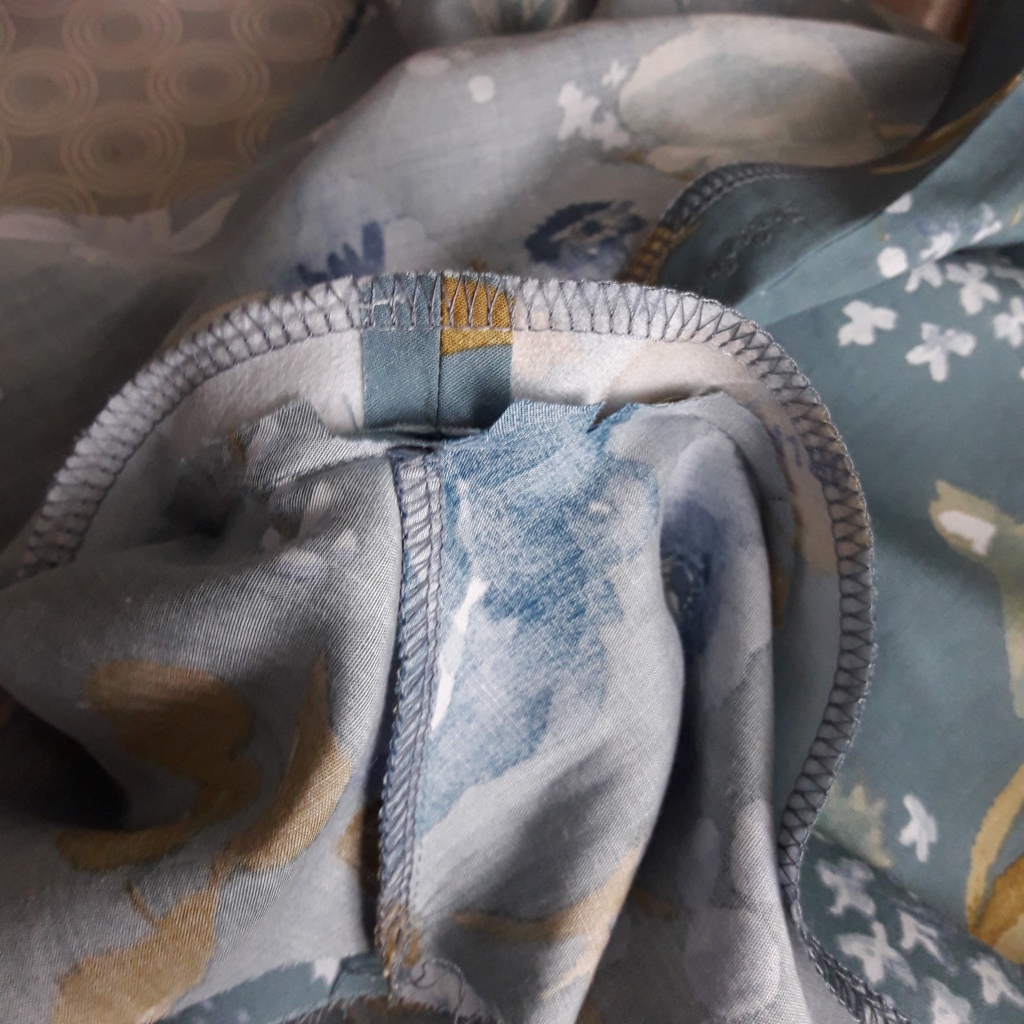
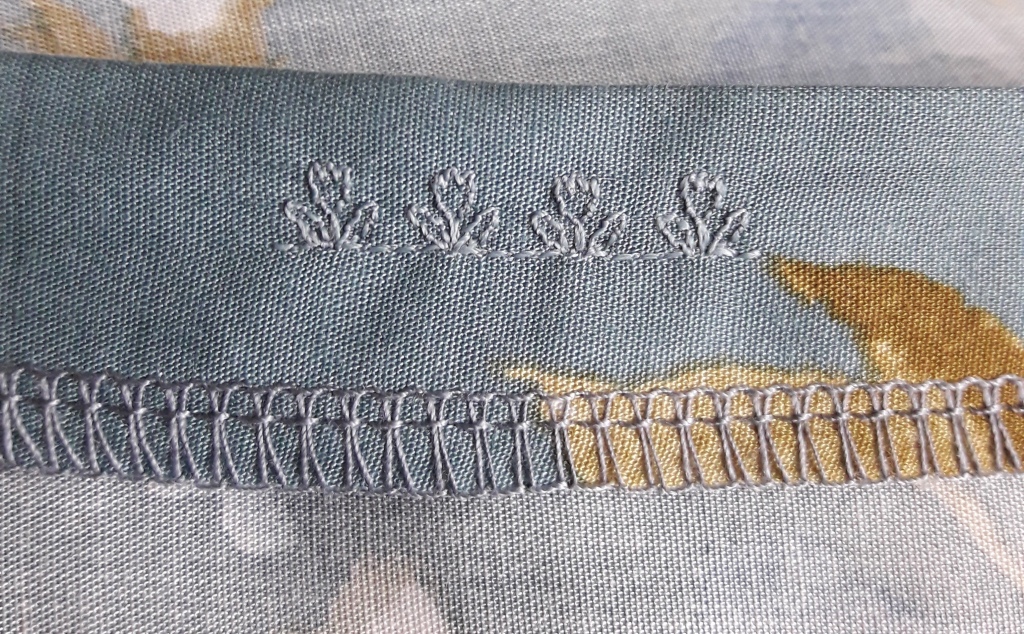
I overlocked the edges of the fabric to retain the slight 2-way stretch. Other sewists have used binding. I also top stitched the facings in place. The pattern uses top stitching on the back and sleeve cuffs and I liked the effect on the boucle.

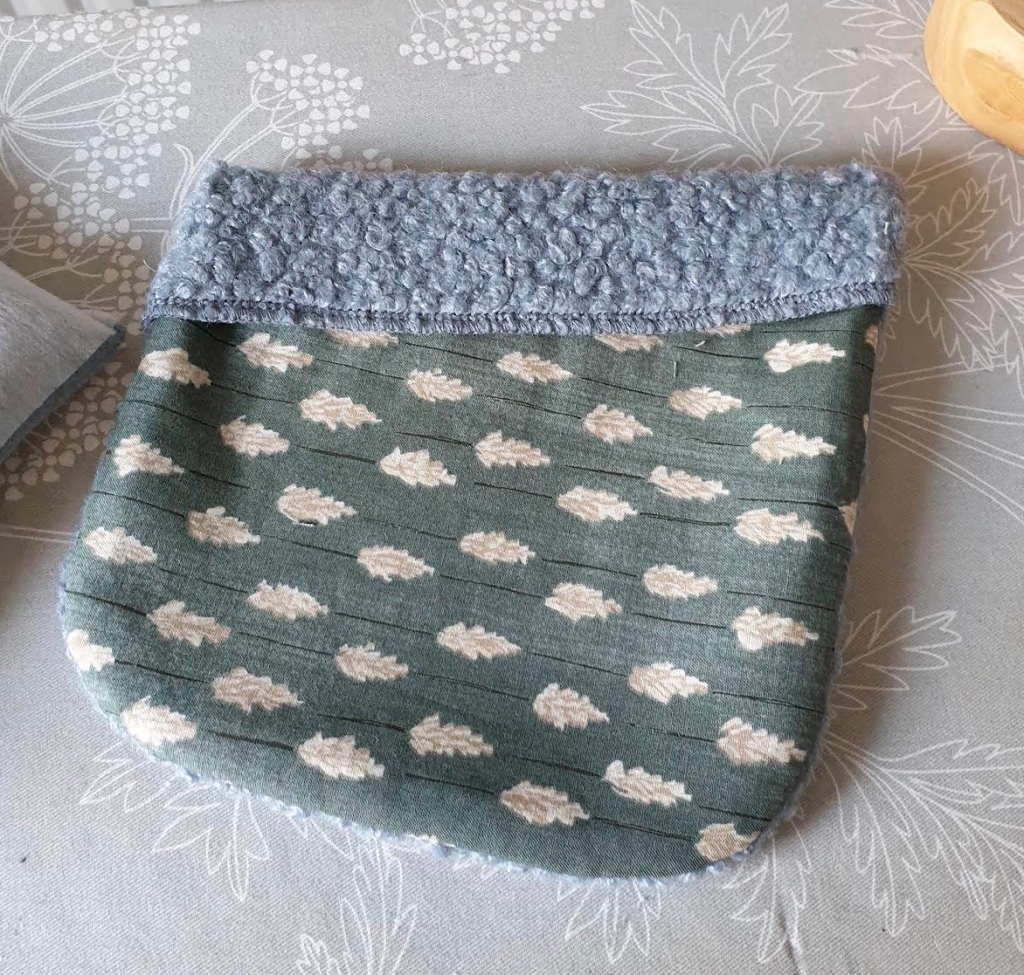
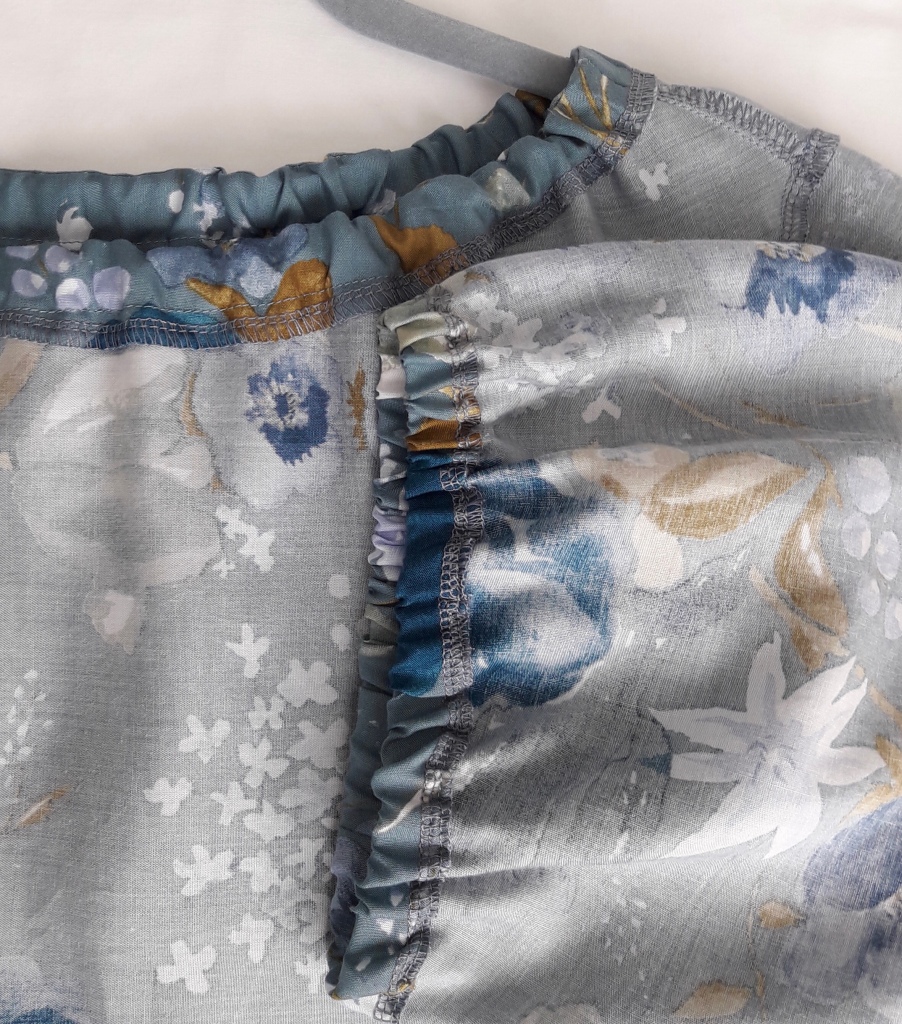
I lined the pockets with quilting weight cotton and top stitched the fold in place, sewing in place with two rows of stitching.

The sleeves are wide and allow for a chunky knit underneath. They are also long and self faced to allow for them to be turned up. I removed 4 inches as I knew they would always be worn full length.

Even though I sewed this in April, it is getting a lot of wear as we still have cold evenings. I have ordered some large sew on snaps to add for wearing on colder weather 😺✂️✂️

Tessuti Rae Top

This is my first pattern from Tessuti, I downloaded the PDF soon after it appeared in April. It is priced at 14 Aus dollars, which is around £7.50.

The pattern is described as ‘a relaxed pull-on top with stylish design features including a wide, gathered neckline’.

This is a lovely pattern to showcase prints. The blue is Nano Iro Fuccra print in tencel, and the sort sleeve version is Atelier Brunette Shade viscose, squeezed from a metre of fabric.

The gathers are formed by elastic. I used 6mm Prym elastic as it is soft and resists folding over.

The facing is attached and the bottom edge folded and sewn in place. After the first version I made a change to simplify and add some definition to the folds

I added light interfacing and overlocked the edges of the facing after joining the shoulder seams.

I also added some embroidery to the back facing to help when putting on! 😺

I have made 4 versions so far. Three with the longer sleeve and one short. I am sure the sleeveless version will appear next summer.

This was the first version, made from Lady McElroy crepe Evening Roost print

Spotty Dalmatians in a floaty viscose lawn.

There is so a dress version which came out shortly after the top. I may be tempted for summer next year 😺✂️✂️

Cuff Dress – The Assembly Line

It was inevitable that I would be drawn to the cuff dress, as I have (so far) made 3 cuff tops

The Assembly Line description of a romantic dress that still keeps all the attitude , based on your love of the Cuff Top’ is spot on

The bodice has a central panel at the front, and a centre back seam with a rouleau loop button closure. This pattern is wide, and there is a lot of useful info on the size to choose on their site, with samples photographed on different size and heights. The pattern is available in 2 size ranges, S-L and XL-3XL. I sized down 1 size and it’s still a loose fit.

The waistband elastic runs through a separate channel

The neck facing extends with the keyhole opening

Topstitching holds the seams flat, a feature used in the Top version

This fabric is a lovely ring spun viscose from Seasalt. I made a medium and had 70cm left from the 3 metre length. I omitted the pockets as the fabric is quite lightweight

At £19 the pattern is expensive. The instruction booklet is easy to follow and detailed, and the advise about sizing choice is a really useful addition.

I’m sure I will revisit this pattern a few times over the coming years 😺✂️✂️

Style Arc Ethel Designer Pant

I think it’s safe to say that I love these trousers, as I made two pairs one after the other.

Style Arc describe these as ‘the most comfortable pant you will ever wear! The tucked elastic waist and dropped crotch along with the slight balloon shaped leg gives this designer pant an edgy look. The leg narrows off at the cropped hemline and can be rolled up if preferred’

Loved the idea of comfort! And am a huge fan of cropped trousers, but the crotch really is deep on these. Having read numerous reviews I decided to remove 9cm from this depth. It was super easy to do as there was minimal shaping. I drew a new cutting line 9cm below, lowered the pocket markings and added the pleat notches to the front.

You can see the balloon shape when hung on a hanger.

The crotch is still low, but I think this is a better shape as I don’t like the fit of harem pants.

I made the pockets a bit smaller on the second pair as the fabric is softer and they didn’t hold their shape as well. The pockets sit well as they are held to the seam with understitching. I also raised the pockets an inch on the blue pair.

Both pairs are made in viscose linen. 😺✂️✂️

Viscose linen Style Arc Fifi Woven Pants

I love wide legged trousers, so was very happy to see this recent release from Style Arc

They describe the pattern as a ‘pull on pant sewing pattern with a smooth front yoke, elastic back and side pockets. ‘This new wide leg pants pattern gives you the option of 7/8th or full length. The Fifi Woven Pant is a simple pant to sew that will give you a sophisticated look’.

If you’re new to Style Arc patterns, you may find the instructions to be a bit brief, but the diagrams show you the seam order to aid construction and they use a lot of markings to line up seams.

The front sits at the waist and is interfaced to add a bit of body

I also added two small pieces of interfacing at the pocket opening to strengthen

The back 1 inch wide elastic is sewn to the top of the back yoke, two darts add shaping so this section lies flat when worn

I cut the shorter length, at 5’4″ I turned a 2″ hem to get the 7/8th length. I even discovered a new attachment for my machine that gave a perfect straight hemline 😺

I did spend ages faffing with the elastic measurement, it isn’t on the pattern….it’s in the details on the website!

😺✂️✂️

Sew Over It Audrey Top

This pattern came out in March, and I bought this lovely sparkly jersey from Stitchy Bee to make it

There are three neckline variations and three sleeve lengths in this pattern. This is version 2 with the shorter tie and the short sleeve.

I”m not a huge fan of PDFs, but Sew Over It ones are super easy to put together and clearly marked. The instructions are clear, and there is a sew along on line if you want to see the pattern in progress.

The neckband piece attaches with a space in front of the left sleeve seam to allow space for the knot or bow to lie flat

Love the tie detail, and the raglan sleeve makes this a quick make. Am sure I will revisit this pattern a few times

😺✂️✂️

Friday Pattern Company – Wilder Gown

The Wilder has several options for a top and a dress.

The pattern has raglan sleeves, and ties at the neck. It’s an easy sew with great instructions.

The pattern recommends ‘drapey woven fabrics’ and this viscose from Sew Wardrobe was the perfect match

Liked this so much I made a second version in a viscose from Fabrics Galore

For this version I went down a size and really like how this changes the fit 😺✂️✂️

Fantail tank – The Sewing Revival

I discovered The Sewing Revival’s Patterns on Instagram, and picked this pattern as I loved the use of elastic at the front to create shape.

The Sewing Revival describe this top as ‘a flattering unique summer top with front gather feature and sloped rear hemline’.

I made two, the first the V-neck in a cotton seersucker and the second in a very drapy viscose linen with the round neck.

The sloped hem at the back is finished with bias binding. Both versions have a combined neck and sleeve facing

This top comes together quickly, the instructions are very well written, with lots of photos to guide a beginner 😺✂️✂️

Closet Case Patterns Cielo Top

This pattern is part of the new Rome Collection and has four variations. I made view A, omitting the cuffs and added 5cm to the length.

Cielo is described as an easy, breezy take on a boxy tee and shift dress’

The instructions are super easy to follow, with clear line drawings for each step.

The back shoulder has inserts that add interest, and darts that sit above the bust. There are instructions for a neck facing or bias binding finish, with or without top stitching.

I chose the neck facing option with top stitching on the outer edge. The fabric is a polyester crepe that drapes really well.

😺✂️✂️